Archive | Cookies RSS feed for this section

Cranberry Chocolate Chip Pecan Cookies

23 Nov

Happy Thanksgiving Eve!

I suspect that you’re all eating modestly today in preparation for tomorrow’s gluttonous extravaganza, so maybe you aren’t interested in a cookie recipe right this second, right?  Haha, ya, I know  good one.  There’s nothing like the holiday season to really bring out everyone’s eating potential to the fullest- just anticipating a giant turkey leg smothered in gravy and cranberry sauce and then dipped in mashed potatoes is probably just about all that’s necessary to spark the appetite, days to weeks ahead of time.  You can totally handle these cookies.  You’ve got it under control.

I’d say these cookies were pretty standard, if by standard I meant completely not standard at all.  I mean, they look innocent enough.  You’ve seen chocolate chip laced cookies before, they’re pretty classic…even standard.  But something about the holiday season brings out a desire in me to bake with things that are green, and red, and probably glittery.


Since I had no edible glitter on hand, and since let’s face it, I’m not on an episode of Top Chef Just Desserts creating centerpieces out of chocolate that will probably tragically be thrown away 1o minutes after presentation, or like….that guy who used edible glitter a lot…I’m going with the holiday color variations.  Green pepper cookies?  Probably not.  But cranberries?  Doable.  Done.

Cranberry Chocolate Chip Pecan Cookies

Ingredients:

* 1 Cup Butter flavored Shortening (or butter)
* 1 Cup Brown sugar, packed
* 1/2 Cup Granulated sugar
* 2 eggs
* 1 tsp Vanilla extract

* 2 1/2 Cups All purpose flour
* 1 tsp Baking soda
* 1 tsp Salt

* 1 Cup Semi-sweet chocolate chips
* 1 Cup Pecans, roughly chopped
* 1/2 Cup Dried Cranberries

Directions:

Beat together the shortening and sugars with a stand mixer, or by hand, until fluffy.
Add in the eggs one at a time, mixing between additions. Add the vanilla extract and mix well.

In a separate bowl, sift together the dry ingredients. Slowly add the dry to the wet mixture, mixing between additions. Don’t overmix, though!

Stir in the chocolate chips, pecans, and cranberries by hand. Refrigerate dough for at least an hour, wrapped up, or covered.

Preheat oven to 350*F. Line a cookie sheet with parchment paper or a silpat.
Scoop out cookie dough using a dough scooper or a spoon (about the size of a golf ball). Bake 10-12 minutes, depending on your oven, until tops are golden brown. Allow to cool on the pan a few minutes before transferring to a wire cooling rack, or directly to your mouth, if you feel like you can take the heat. =p

But seriously, don’t burn yourselves…

You probably shouldn’t let the fact that come tomorrow you’ll be knee-deep in cranberry sauce, doubled over in regret grasping your stomach as you slip into a turkey-gravy-pie-to- top-it-all-off coma affect your decision to make these or not.  You probably should go for it.

Pumpkin Chocolate Chip Cookies

24 Oct

Despite the fact that it’s still hovering around the 80 degree mark during the day and staying fairly warm into the evening around these parts, I decided to open my first can of pumpkin of the year at the beginning of the month. I think I did a pretty good job of holding off until the season really hit, even while being tempted by food blog recipes featuring fall ingredients back in September and even August (!!!) I try not to burn myself out on seasonal foods toooooo early on (apples are a different story altogether – I’m looking at you, yet-to-be-posted apple galette!).

I did the usual pumpkin oats first and foremost, but really wanted to get myself knee-deep in pumpkin with these cookies! I couldn’t find a recipe online that I really liked the looks of, so obviously I improvised. These are my basic recipe with a few tweaks here and there, and for my first try, I think they came out pretty well. Not overpoweringly pumpkin-y…to be honest, I think they SMELL more pumpkin-spicey-fall-ish than anything! They’re a bit cakey, but I wouldn’t call them a cakey cookie; as far as I’m concerned, no one wants a cakey cookie. If I wanted a cakey cookie I’d probably just make cake. Or a cupcake. Or something else bready, duh.  It’s all about the chewy!

Pumpkin Chocolate Chip Cookies

Ingredients:

* 1 cup bread flour
* 1 1/2 cups all purpose flour
* 1/4 cup cornstarch
* 1 tsp baking soda
* 1 tsp salt
* 2 tsp pumpkin pie spice
* 3/4 cup margarine or butter flavored shortening
* 1 cup packed brown sugar
* 1/2 cup granulated white sugar
* 1/4 cup canned pumpkin (not the pie filling)
* 2 eggs
* 1 tsp vanilla extract
* 2 cups semi-sweet chocolate chips

Directions:

Preheat oven to 350* F. Line a cookie sheet with parchment paper or a Silpat.

Cream together the margarine or shortening and sugars in the bowl of a stand mixer. Add in eggs one at a time, mixing between. Add the vanilla extract and canned pumpkin, and mix well.

In a separate bowl, sift together the flour, cornstarch, baking soda, salt, and pumpkin pie spice.

Add the dry mixture to the wet mixture slowly, mixing between additions until well incorporated.

Stir in the chocolate chips by hand.

Drop golfball sized dough onto prepared cookie sheet. Bake about 11-12 minutes until just golden brown on top.

Still to do this month: World-record-holding corn maze! Maybe pumpkin carving.
Bring on the fall! =) What’s everyone doing for Halloween?

Cookies & Kitchen Sabotage

10 Oct

Let me start off by saying that some of my very best baking work is the baking work that just doesn’t end up on the blog.  Most likely, I think it’s because they’re the recipes I make all of the time, over and over as favorites and stand-bys; they rarely let me down.  And yet, they never seem quite impressive or novel enough to feature.  Upon typing that, I realize it’s just not fair.  At all.  Afterall, recipes like basic, delicious, chocolate chip cookies are always a crowd pleaser, and clearly deserve their 15 minutes!

Now, remember that time I said these recipes rarely let me down?  Well, they don’t.  But sometimes other kitchen nightmares get me a little disenchanted.  It’s really not the recipe’s fault at all.

This particular cookie story begins with the best of intentions, is wrought with untimely tragedy, and wraps up with a happy ending.  Sort of.

If you’ve never broiled a cookie, I envy you. I wish I could say the same.  Trust me, it’s not only NOT the way to go, it’s also not the type of situation you walk into the kitchen and expect to get yourself into.  Or to have someone else get you into, as the case may be.  That’s precisely where the kitchen sabotage portion of this story comes in to play.  Once again, I won’t name names (but it was my brother).  I wouldn’t want to throw anyone under the bus (but it was my brother).  I’m not that kind of person to just hold a grudge (but it was my brother).  So anyway, whatever happened, my brother happened to be BROILING peppers pre-cookie baking, so I bounded into the kitchen (GOOD INTENTIONS), expecting a smooth-sailing kind of cookie baking experience, only to pull the first pan of cookies out of the oven and find not the type of golden brown color you might want in a cookie.  Obviously I had adjusted the temperature, but had no idea there had been broiling going on, and that it was apparently still going on. (TRAGEDY!)

Needless to say, it took quite a few pans of cookies for the oven to reach optimal cookie baking temperature, even after settings were adjusted.  I don’t want to harp on it or anything (but it was my brother), so I guess I’m just going to maturely let it go.

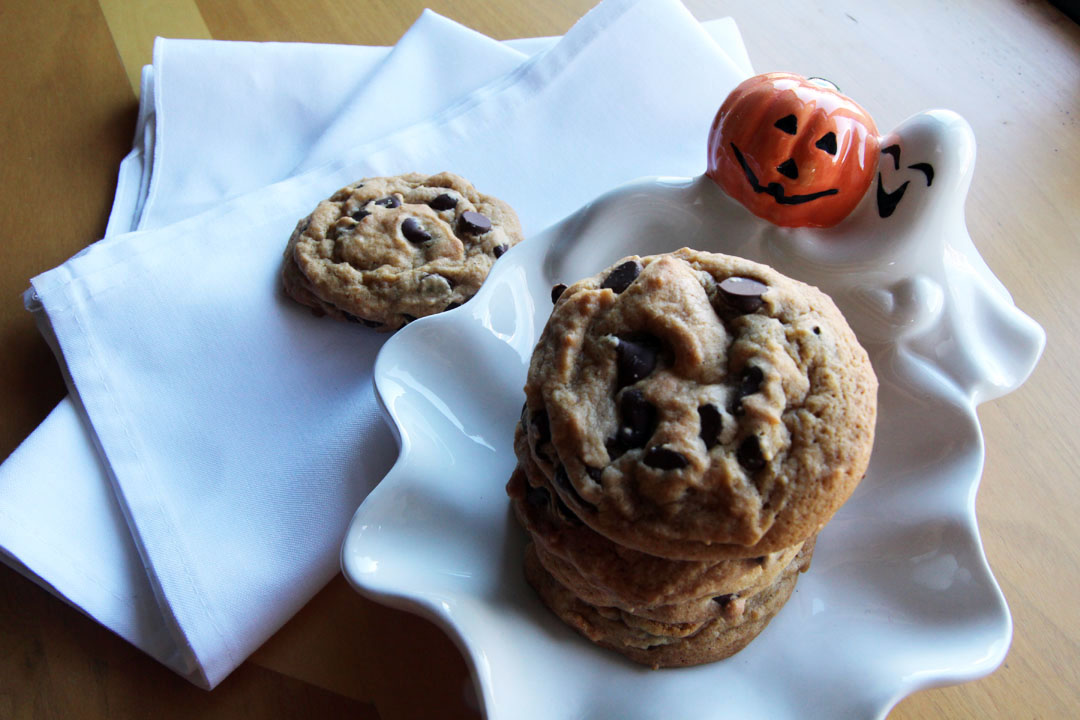
The cookies you see here are the very. last. pan of cookies.  Not even a full pan.  Oh well, at least I got them, right?! (HAPPY ENDING…sort of?)

Chocolate Chip Pecan Cookies
I know this cookie recipe by heart. I make it often, you could say. It’s simple, and perfect for changing up the add-ins, depending on what you’re in the mood for.

Ingredients:

* 1 cup butter flavored shortening
* 1 cup packed brown sugar
* 1/2 cup white sugar
* 2 eggs
* 1 tsp vanilla extract
* 2 1/4 cups flour
* 1 tsp baking soda
* 1 tsp salt
* 1 cup semi-sweet chocolate chips.
* 1 cup roughly chopped pecans (or any other nut you like, really)

Directions:

Preheat oven to 350* F. Line a cookie sheet with parchment paper or a silpat.

Cream together the shortening and sugars in a mixer, or by hand. Add the 2 eggs, mixing between additions. Add the vanilla and mix.

In a separate bowl, sift together the flour, salt, and baking soda.

Slowly add the flour mixture in intervals until well-incorporated. Make sure you scrape down the sides of the bowl as you go.

Stir in the chocolate chips and pecans by hand. Use a cookie scoop (the metal ice cream scooper looking things) to place 8 cookie blobs on your pan at a time (depending on the size of your cookie sheet).

Bake about 11 minutes. Let cool on the pan for about 5 minutes before transferring to a cooling rack….or just eating. I’d hate to be on the receiving end of angry emails from burnt-mouth readers who didn’t follow that step! 🙂

I’m not going to name names, yet again, but these cookies have been called the single greatest chocolate chip cookie ever (by my brother).  You should probably bake them (but not broil them!) (HAPPY ENDING!)

Candied Ginger Bars

21 Aug

As it turns out, it didn’t actually hit me until today that I am really moving.  For whatever reason, the last several weeks of gathering boxes, stressing, and packing weren’t enough to get me thinking about what all of it really means until now.

Most of the times I have moved in the past (there have been A LOT of those times), I knew exactly where I was going next.  I had time to mentally adjust and prepare to be in my new space, and that’s always pretty comforting to me.  You know, like preparing to hit the ground rather than  blindly stepping off the side of a cliff and not knowing what to expect.  It’s the same, for sure…

This time, not so much.  I don’t know what to expect or where I’ll be.  What hit me possibly the most is the limited time I have left in my tiny kitchen of two years, and the limited number of baked good items I can produce from said kitchen in that limited amount of time.  The countdown begins!
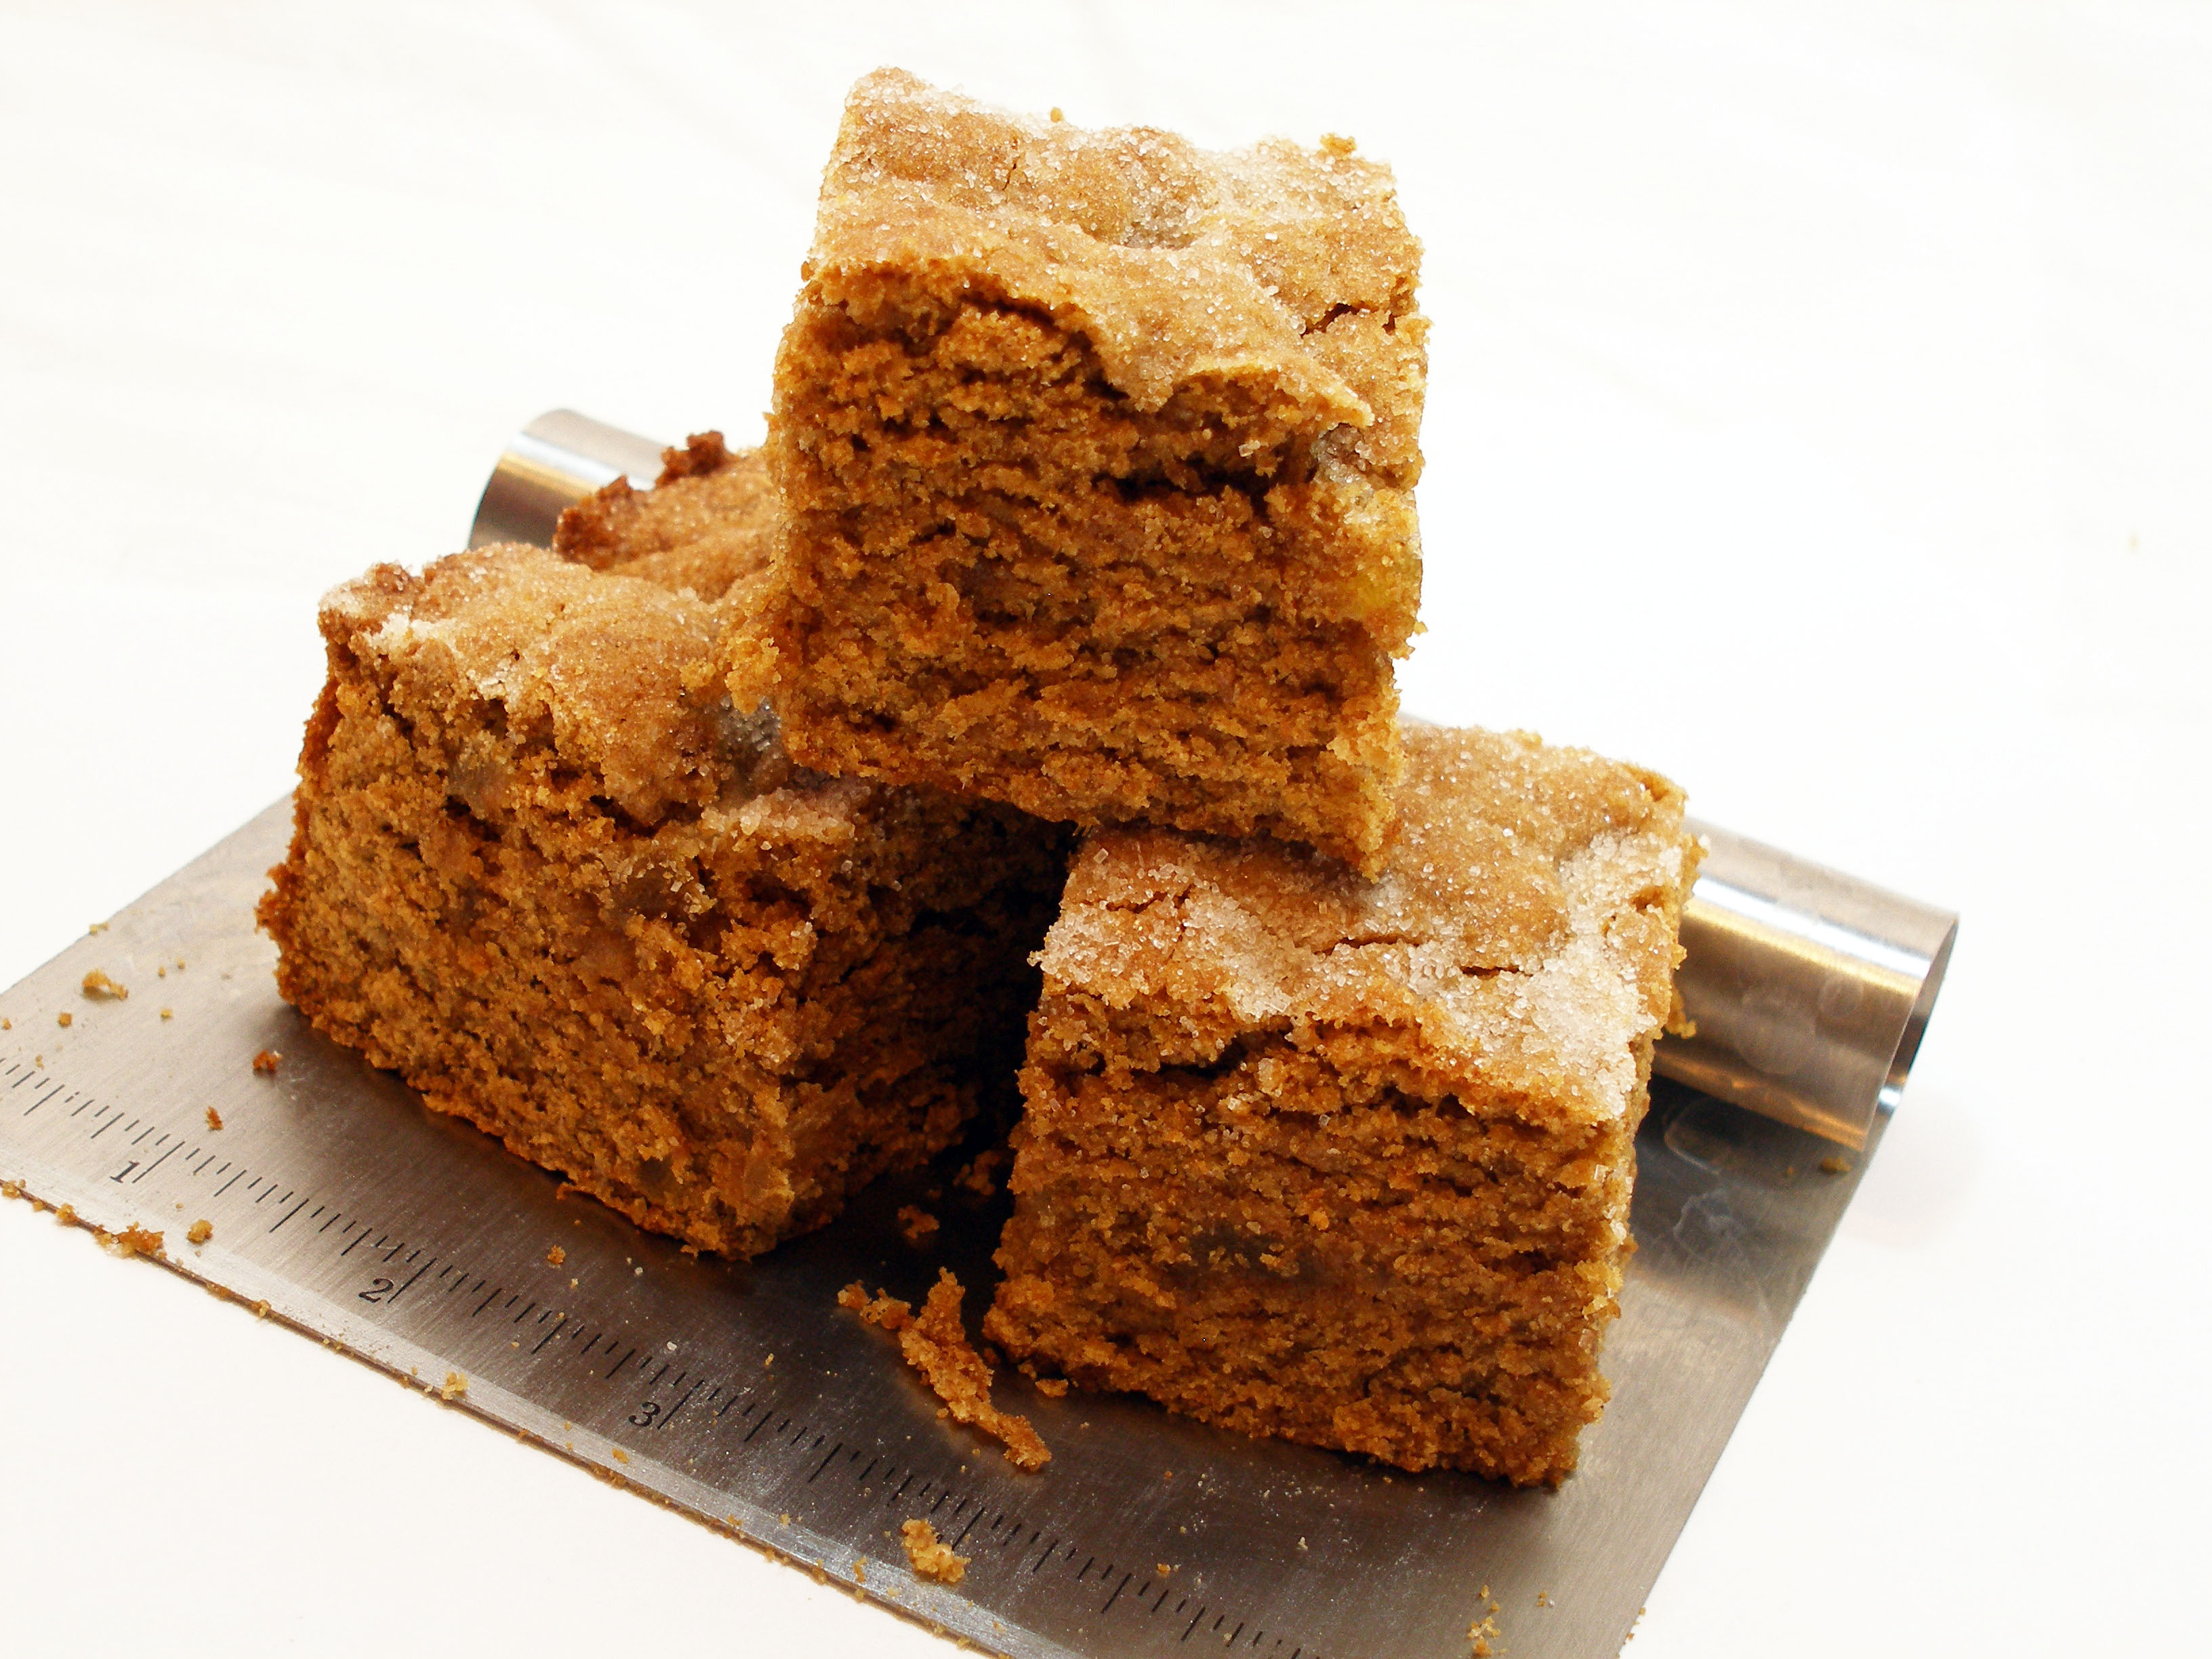
(And yes, I realize there are ridiculous-looking water spots on that cutty-thingy…haha!)

Oh, while I’m on the topic of moving, I wish I could say I have a bunch of tried and true, handy moving tips for you that make the whole process a breeze. But unfortunately, I still don’t have it all figured out, even with practically 10 moves in the last 10 years. I can tell you this, though:

DO NOT under any circumstances wait until the very last minute. I can’t tell you the number of times I’ve underestimated the amount of stuff I have, the number of boxes I’ll need, or the amount of time it will take to actually move everything!

Also, DO NOT help anyone else move (for instance, your brother!) in hopes that they will return the favor just out of the goodness of their hearts. Get it in writing!

Last but not least, if you plan to move, I suggest you have a place to move all your stuff to. Unlike me. Learn from my mistakes, will you?

There you have it. And now, for real, the good stuff.

Candied Ginger Bars
The bars themselves aren’t as gingery as a ginger cookie, but I figured if they were, it’d probably be a little too overpowering with the spicy candied ginger in there! Think balance =)

Ingredients:
* 3 Cups Flour (I used 1 Cup Whole Wheat Bread Flour, 2 Cups Whole Wheat Flour)
* 1 tsp Baking Powder
* 1/2 tsp Baking Soda
* 1/2 tsp Salt
* 1 tsp Ground Ginger

* 1/2 Cup Brown Sugar
* 1/2 Cup White Sugar
* 1/4 Cup Molasses
* 1/4 Cup Canola Oil + 1/2 Cup Margarine
* 1/4 Cup Almond Milk
* 2 Tbsp Vanilla Extract
* 2 Eggs

* 1 Cup Candied Ginger, minced
* 2 Tbsp White sugar or Turbinado Sugar for sprinkling on top.

Directions:
Preheat oven to 350* F and line or grease an 8×8″ square pan.

In the bowl of a stand mixer, cream together the oil, margarine, brown sugar, white sugar, and molasses. Add in the almond milk, vanilla extract, and the eggs, mixing well between each.

In a separate bowl, sift together the flour, baking powder, baking soda, salt, and ground ginger.

Slowly add the dry mixture to the wet mixture, mixing between additions. Scrape down the sides of the bowl periodically.

Stir in the minced candied ginger by hand.

Scoop the batter into the pan and spread it out evenly. Sprinkle sugar on top.
Bake for 20 minutes, then check. If it’s browning too quickly, turn the oven down to 325* and bake for 10 more minutes. Otherwise, just leave it at 350* and bake for 10 more minutes. Keep your eye on it!

Oh, and I’m just throwing this out there, but if you happen to see a girl wandering around campus occasionally, and it looks like she’s living in the library’s 24 hour Study Room and showering in the locker room…it’s totally NOT me. Definitely not. At all. =D

Birthday Cake Batter Biscotti

31 Jul

To this day, I can’t be sure how old my mom actually is. Moms like it that way. A long-time proponent of the “29 Forever Club,” and notoriously ambiguous about her exact birth year, she continues to tout a seemingly timeless outward appearance that also provides no hints.

Against better judgment, namely the fact that she’d now be only a few years older than myself if her 29 year old claims held true, I would think she might in fact have magically stopped aging altogether. I don’t know how she does it.

I guess only time will tell. Or, NOT tell, as the case may be.

See, yesterday was my mom’s birthday, and I’m still no closer to figuring out her real age than I am to figuring out why I wasted an hour and 44 minutes of my life watching Tokyo Drift when it had absolutely nothing to do with Paul Walker.

All I can say is Fast Five is already infinitely better for including him, and I haven’t even seen it yet. Anyway, all tangents aside, I may never know my mom’s real age, but that won’t stop me from baking things for her every year!

Birthdays always call for things with sprinkles. But, since my mom decided to embark on a day trip yesterday where carrying a giant cake around would potentially be entirely inappropriate, I decided on something a little more portable.

Cupcakes were a possibility, but still not as resilient as is necessary to hold up on a road trip. Not to mention the idea of buttercream melting all over the car interior left a little to be desired.

So, I got it in my head that I could make something cute, cake flavored AND sturdy.

Cake batter biscotti! Imagine my surprise when I searched and there were no recipes to be found.  Well, there’s a recipe to be found now!

One of the many awesome things about moms is that they will smile happily and tell you they like your experimental recipes even if they don’t.

Unfortunately, that also means that you will have to ask my mom personally if these are good or not if you want a truthful response!

Happy Birthday, mom!

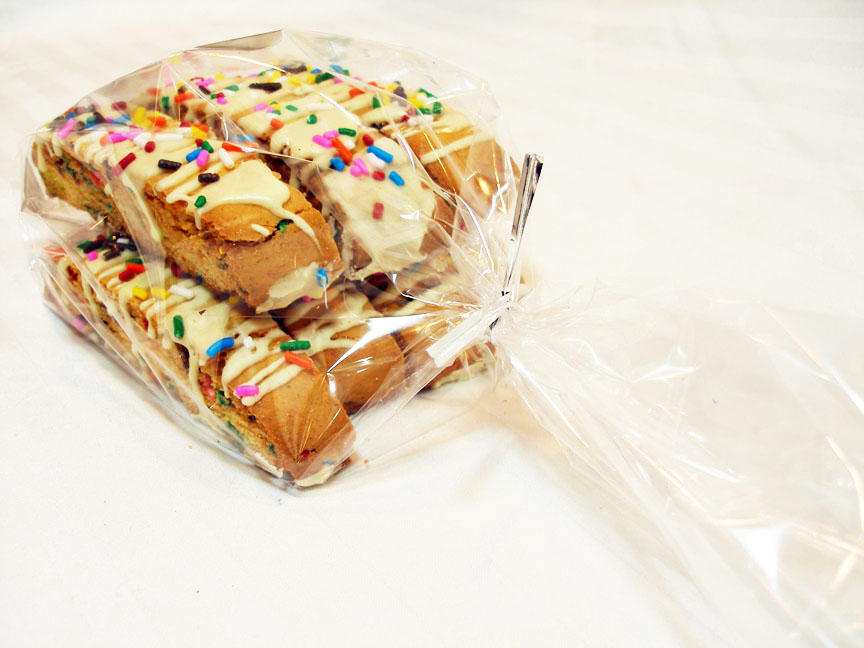
Cake Batter Biscotti
These definitely aren’t a typical break-your-tooth-off biscotti…they’re a little softer, which means they’re perfect even if you don’t have coffee on-hand for dunking!

Ingredients:

* 1 1/2 Cups Flour
* 1 Cup Yellow Cake Mix
* 3/4 tsp Baking Powder
* 1/4 tsp Salt
* 1/4 Cup Sugar
* 3 Tbsp Butter, melted
* 1 Egg
* 1 Tbsp Butter Flavored Extract
* 1 Tbsp + 1 tsp Vanilla Extract
* 1/8 Cup Sprinkles + extra for sprinkling

Glaze:

* 2 Tbsp Yellow Cake Mix
* 1/2 Cup Powdered Sugar
* 1 tsp Vanilla Extract
* Enough milk to make a frosting or drizzle,
whichever you prefer (I used about a Tbsp of non-dairy milk)

Directions:
Preheat oven to 350* F. Line or grease a cookie sheet.

In the bowl of a stand mixer, cream together the melted butter and sugar. Add in the egg, butter extract, and vanilla extract, and mix until smooth.

In a separate bowl, sift together the flour, baking powder, and salt. Add in the cake mix.

Slowly add the dry ingredients to the wet mixture with the mixer on low. Scrape down the sides in between additions. The dough should be fairly thick.

Stir in the sprinkles with a spoon.

With your hands, form the dough into a log shape along the length of the cookie sheet, and about 3 inches wide.

Bake for 20 minutes. Remove from the oven and let cool for 15 minutes on the cookie sheet. Once cool to the touch, use a serrated knife to slice the log of dough into slightly diagonal, 1/2 inch pieces.

Turn each slice on its side and lay back on the cookie sheet. Bake for 5 minutes. Flip the slices and bake 5 minutes more.

To make the glaze, add the cake mix and powdered sugar to a bowl. Add the vanilla and milk, and stir until you reach the desired consistency.

Once the biscotti cools, drizzle with the glaze, and sprinkle extra sprinkles over the top before it sets.

If you don’t eat them all first, you can wrap them up, add a pretty bow or twisty tie and give them as a gift 🙂 Or figure out a way to put candles on them that doesn’t involve power tools or drill bits. Your choice!