Archive | Holiday RSS feed for this section

Happy New Year {2013} Sprouts!

1 Jan

Happy New Year {2013}!

Sprouts1

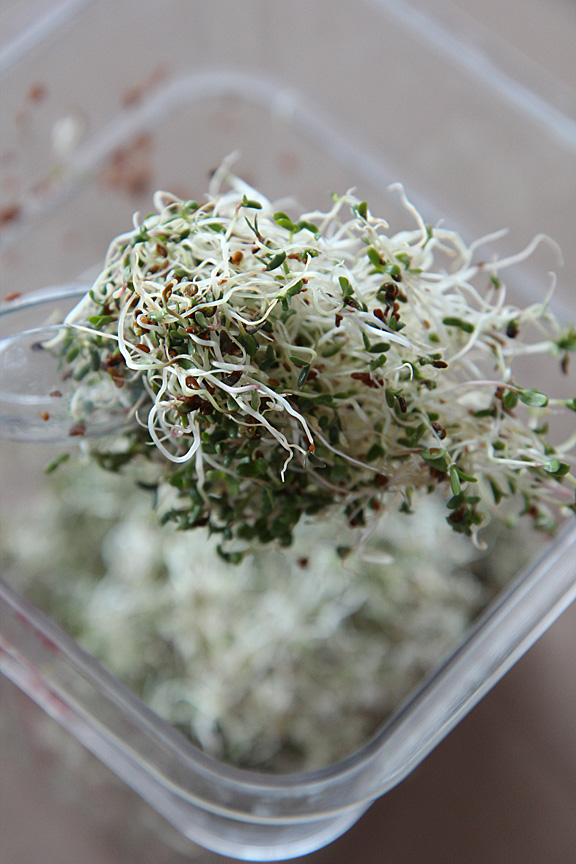
New year, new opportunities, a clean slate!  I’m super excited about the concept of new possibilities for 2013, and sprouts seem to me the perfect example of new life!

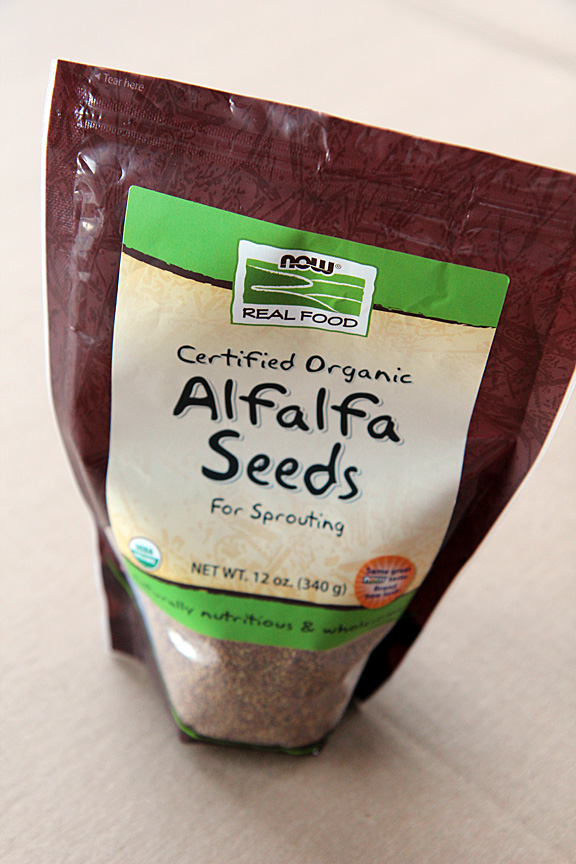
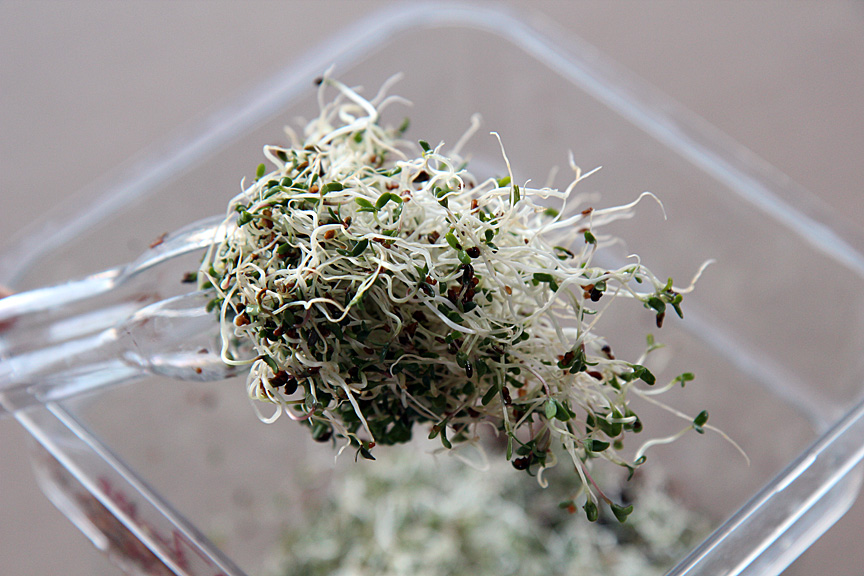
If you’re trying to get healthier this year (or try your green thumb on for size, maybe?)  sprouting your own alfalfa seeds for salads, smoothies, and even soups is a simple, healthy, and nutritious way to go!

Sprouts2


Sprouts3


Sprouts4

Stay tuned for a how-to post on sprouting your own seeds next time!  For now, I’m taking the rest of the evening to do some relaxing after last night’s festivities, and then heading out to start the year off right with some gym time!

Make a plan to do good things for yourself this year! 🙂

xoxo

Martha Stewart’s Mint Chocolate Cupcakes Reworked + Peppermint Buttercream

23 Dec

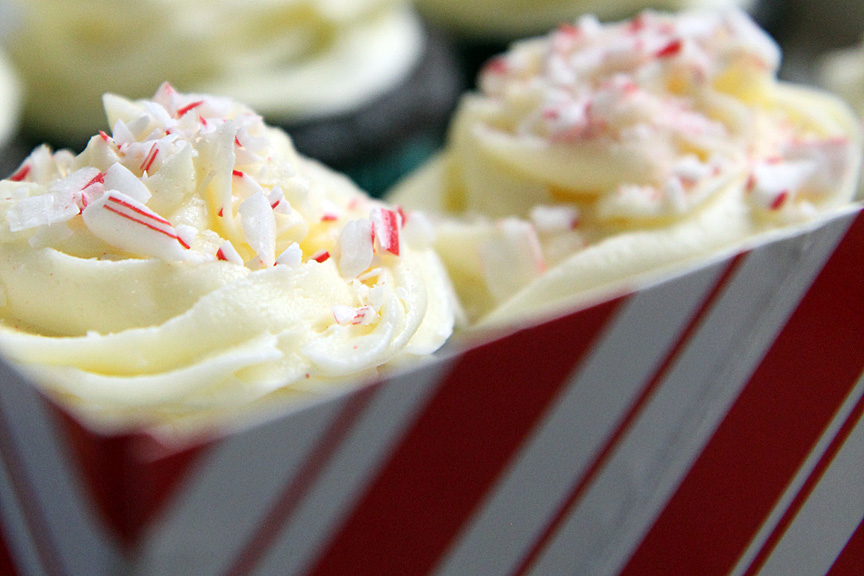
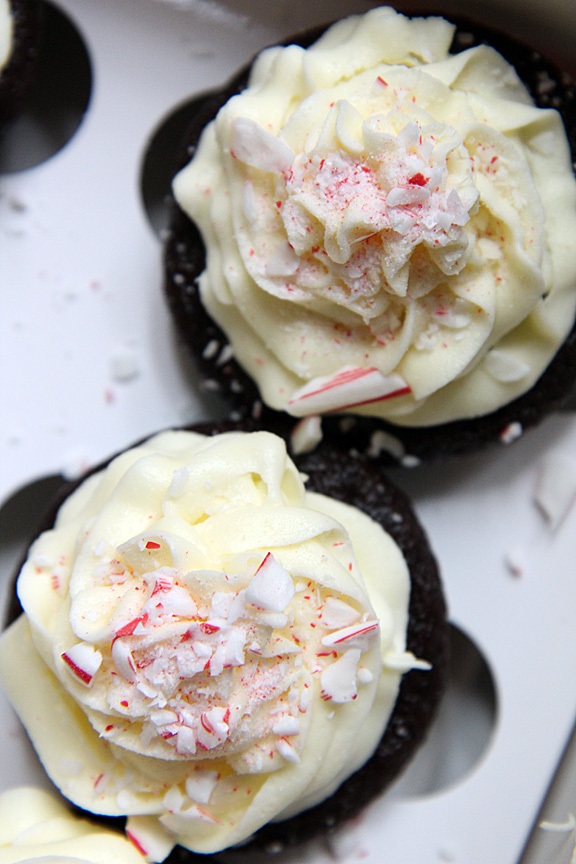
PeppermintChocolateCupcakes2


PeppermintChocolateCupcakes4

I’m not sure whether or not it makes me feel better, but I certainly wasn’t the only Christmas shopping procrastinator bustling around out in the world today!  Without fail, I end up being way too busy to shop early, and I end up with a full list of family members to shop for in minimal time.  Luckily, I expected the challenge, this being the last weekend before Christmas,  so I bundled up in a warm coat, loaded my ipod with holiday favorites, and ventured out with the attitude that I’d make do with whatever happened!  Rain was pouring down, the stores were hopping, and I actually made some really great progress despite the never ending lines.  I owe it all to adrenaline and caffeine!

MarthaStewartBook1

Martha Stewart’s Mint Chocolate Cupcakes

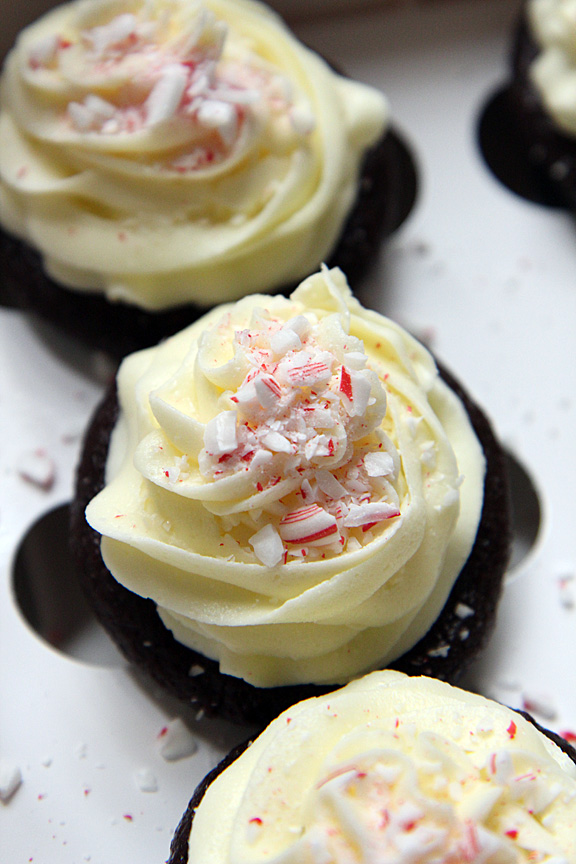
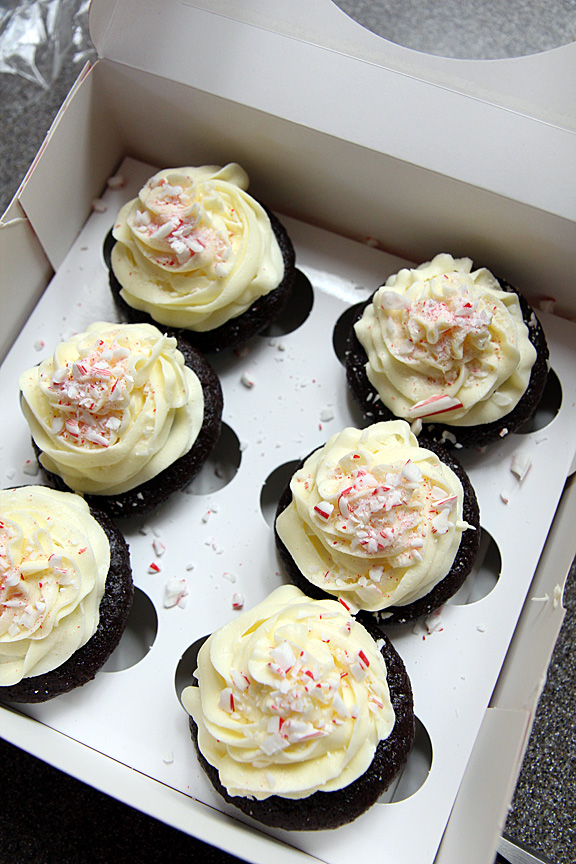
Baking this time of year is especially magical since there are so many awesome, festive flavor combos!  These chocolate mint cupcakes are no exception.  I followed Martha Stewart’s cupcake recipe pretty closely (the frosting is a different story altogether), except that I subbed in milk + vinegar for the buttermilk since I didn’t have any on hand, and left out the peppermint extract completely.  I really wanted the chocolate flavor to shine so I could save the peppermint for the frosting.  At first, the batter seemed WAY too runny…as in, I felt like I was pouring chocolate milk into the cupcake tins, but everything worked out and they baked up beautifully!  A yummy addition to any Christmas dessert tray 🙂

Ingredients:

* 1 1/2 cups all purpose flour

* 3/4 cup unsweetened Dutch-process cocoa powder (I used Hershey’s unsweetened cocoa powder)

* 1 1/2 cups sugar

* 1 1/2 tsps baking soda

* 3/4 tsp baking powder

* 3/4 tsp salt

* 2 large eggs

* 3/4 cup buttermilk (I used 3/4 cup milk + 1 Tbsp white vinegar)

* 3/4 cup warm water

* 3 Tbsps vegetable oil

* 1 tsp pure peppermint extract (I left this out!)

* 1 candy cane, or several mini candy canes, crushed for topping (optional) But these make them super cute!

Directions:

Preheat oven to 350* F.  Line a 12-cupcake tin with cupcake papers.

In the bowl of a stand mixer, combine the oil and sugar, and mix until combined.  Add eggs one at a time, mixing between additions until smooth.  Add buttermilk, extract (if adding to make peppermint chocolate cupcakes), buttermilk (or milk + vinegar), and water.  Beat on low speed until smooth and combined, scraping down sides of the bowl as necessary.

In a separate bowl, sift together the flour, cocoa powder, salt, baking soda, and baking powder.  Slowly add dry mixture to the wet mixture, beating on low in between additions.

Divide batter evenly among lined cups.  The recipe says to fill only 2/3 fully, but I filled them a touch fuller than that since I like tall cupcakes.  (If you end up with extra batter, bake as a second batch after the first is done.  I think this recipe would have made a few more than 12 cupcakes except that I fill the cups really full.)

Bake about 20 minutes, or until a toothpick inserted into the center of a cupcake comes out clean.  Allow to cool for about 10 minutes in the tin before removing cupcakes and allowing them to finish cooling on a wire rack.

Frost once completely cool and top with a sprinkle of crushed candy cane.


Peppermint Buttercream Frosting

The frosting suggested in the book for these cupcakes was mint buttercream, but instead of using Martha’s version, I topped my little cakes with a frosting of my own creation.  This peppermint buttercream is a spin off of my classic go-to buttercream recipe.  Peppermint extract adds a kick!  No chocolate leaves here, my cupcakes are adorned with pretty candy cane crumbles!

Ingredients:

* 1/2 cup (1 stick) butter or margarine

* 3 cups powdered sugar

* 1-2 Tbsp milk, or milk alternative

* 3 drops-1/4 tsp peppermint extract, to taste

Directions:

Cream the butter in the bowl of a stand mixer.  Add 1 cup of powdered sugar and mix until crumbly.  Add in 3 drops peppermint extract and 1 Tbsp milk.  Mix again until combined.  Add remaining 2 cups powdered sugar.  Assess consistency, and add more peppermint if desired.  If too thick, add remaining 1 Tbsp milk.  If too thin, add a bit more powdered sugar.  Whip for a minute, or until well combined, and smooth with no lumps remaining.  Refrigerate if not using immediately.
PeppermintChocolateCupcakes1


PeppermintChocolateCupcakes5


PeppermintChocolateCupcakes7


PeppermintChocolateCupcakes6

I’ve also made Martha Stewart’s Lemon Cupcakes from the same book with great success!  Check them out here.

LemonCupcake7

Of course I can’t wind down this post without including my favorite outfits from the Victoria’s Secret Fashion Show this year!  All Access Here.  I love, love, love the lacey number Candice Swanepoel floated down the glittery runway in during the “Angels in Bloom” section of the show – pretty, sweet, and accompanied by a set of flowery wings!

Candice2012_2

Lindsay Ellingson paraded down the runway in a black-hot cut-out corset type top during “Silver Screen Angels,” but my favorite part of the whole ensemble is the giant, feathery wings!  You can’t be an angel without wings 😉

Lindsay2012_1

I wish you all happy, magical holidays!

xoxo

Eggnog Cupcakes with Eggnog Buttercream

4 Dec

Happy Holidays!

Right now I’m looking forward to nothing more than tuning in to watch the Victoria’s Secret Fashion Show!  I am not ashamed to admit I look forward to it every single year.  You also better believe I’m the girl who dreams about walking down that runway.  With those gorgeous angel wings.  And of course abs of steel!  One day, one day ;)  Expect a full recap from me after the show!

Ok, ok, off the fantasy for now, and on to my day.  It was a busy one, and I’m glad to be home.  I work as an NMD Assistant at a small clinic for the two most amazing Doctors anyone could ever hope to meet.  They just got back from a vacation/honeymoon in Hawaii after tying the knot there over Thanksgiving.  Congrats to them both!  I have no idea how that transitions in to talking about cupcakes, but I feel like cupcakes really need no segue anyway…they pretty much fit in with anything and everything.

These eggnog cupcakes with eggnog buttercream were a HUGE hit around here, and by that I mean, comments like “Those are my favorite so far.  Of anything you’ve made… recently” were made. (He knows who he is, so I don’t feel the need to name names!)  Nevermind the fact that I have no idea what the timescale was on “recently,” and how it could just as easily have meant within the last 2 days as within the last 2 years.  Details.    What I’m trying to say is this:  Either I haven’t made anything good lately, or these really are awesome.  At the risk of opening myself up to comments from certain people, I think I can honestly say it’s the latter.  Or at least hope.  Actually, you should make them and then let me know, just to be sure!

Eggnog Cupcakes

Ingredients:

1 1/3 cups flour

1/4 tsp baking soda

1/2 tsp baking powder

1/2 tsp salt

1/4 tsp nutmeg

1 egg

1 1/8 cups eggnog

1/4 cup canola oil

1 Tbsp apple cider vinegar

1 tsp vanilla

1 cup sugar

Directions:

Preheat your oven to 350*F and line a 12 well cupcake pan with paper liners.

Add canola oil, and sugar to the bowl of a stand mixer and mix until combined.  Add in the eggnog, egg, vanilla extract, and apple cider vinegar, and mix again until well combined.

In a separate bowl, sift together the flour, baking soda, baking powder, nutmeg and salt.

Add dry flour mixture to the wet mixture, turning mixer on low between additions.  Mix until batter forms.

Add 1/4 cup-fulls of batter to each well of the pan.  Bake about 20 minutes, rotating the pan in the oven half-way through.  Allow to cool in the pan for about 15 minutes before removing cupcakes and setting on a cooling rack.  Do not frost until completely cool!

Eggnog Buttercream Frosting

Ingredients:

3 1/2 cups powdered sugar

1 stick margarine

3 Tbsp eggnog

1 tsp vanilla extract

1/4 tsp nutmeg

Pinch of salt

Directions:

Cream the margarine in the bowl of a stand mixer.  Add in 2 cups of powdered sugar and mix until crumbles form.  Add in salt and eggnog, and mix again.  Add in remaining 1 1/2 cups of powdered sugar, and then the vanilla extract.  Whip on high until smooth.  If buttercream seems too thin, add a bit more powdered sugar – if the opposite is true, add a little more eggnog.  Add in the nutmeg and whip again.  Store in refrigerator until ready to use!

Roasted Brussels Sprouts with Garlic and Walnuts

29 Nov

I love brussels sprouts so freaking much.  I feel like there are some people out there, however, who aren’t such huge fans.  I know!  I’m as confused as you are.  For whatever reason…too bitter, too green, too tiny cabbage-esque, whatever.  Pan roasting is the cooking method that changes all of that.  Brussels sprout haters become brussels sprout lovers, or brussels sprouts toleraters, at the very least!  This recipe is so easy, super healthy, only requires a few quality ingredients, and turns out tasty delicious.  I made this as a Thanksgiving side dish this year, and it was quite the hot commodity!  I can see this being extra yummy with dried cranberries tossed in at the end!  This is a new staple side dish for me, I can see making it alongside brown rice and a piece of salmon or baked tofu.

Brussels Sprouts with Walnuts

Ingredients:

* 4 heaping cups large brussels sprouts, cut into quarters

* 5 medium to large cloves of garlic

* 4-5 Tbsp olive oil

* 1 cup toasted walnut halves

* Kosher salt, to taste

Directions:

Preheat oven to 350* F.

Line a cookie sheet and spread walnuts evenly.  Toast about 10 minutes, checking often until toasty brown (don’t burn, though!)

Wash and quarter the brussels sprouts and set aside.  In a large frying pan with a lid, heat the olive oil.  Roughly chop garlic cloves and add to pan, stirring constantly until soft and lightly browned.

Add brussels sprouts to the pan, and cover, stirring occasionally, for 15-20 minutes.

Once the walnuts are toasted, remove from the oven and allow to cool in a bowl.  Turn oven temperature up to 400* F.  Transfer brussels sprouts from the stove top pan to the baking sheet, spreading out into an even layer.

Sprinkle with salt, to taste.  Bake for about 20 minutes.  Remove from oven and toss with toasted walnuts on the pan.  Bake about 10 more minutes, until brussels sprouts are fork tender and slightly crispy on the outside.  Serve!

Pumpkin Pie Smoothie + Why Pumpkin is Super Good for You!

14 Oct

Pumpkin, Please!

Can we talk for a minute about pumpkin?  Everyone’s talking about it this time of year, right?!  But, I don’t mean in the pumpkin spice latte-crazed (although those are yummy!), fall-obsessed, pumpkin “flavored” everything kind of way – I mean in the context of REAL pumpkin and it’s low calorie, high nutrient density profile!  Pumpkin has a lot to offer, and obviously it’s tasty, so it’s understandable why everyone wants a piece of it ( I swear, no pie puns intended! 😉 this time of year.

Beta-Carotene

Pumpkins have beta-carotene to thank for their characteristic, bright orange hue.  Beta-carotene is converted to Vitamin A in the body, which then plays a major functional role in keeping our vision crisp and clear, our immune system fortified, and the repair and health of all the body’s cells  healthy (meaning it’s super important for keeping our skin pretty, too!).

Protein & Fiber

Fiber you may have guessed since most plants contain lots of it, but yes, pumpkins contain protein, too!  Good for digestion, good for pumping up those muscles.

Calcium, Iron, Magnesium, & Potassium

Calcium helps keep your bones and teeth healthy, strong, and fracture free.  Iron promotes the building of blood cells that keep oxygen flowing to your cells for energy and optimal functioning.  Muscle and nerve function, as well as over 300 other biochemical reactions in the human body are dependent upon magnesium.  Energy metabolism, bone strength, and bolstering the immune system are just a few others that rely on this mineral.  Potassium isn’t just a banana thing!  Potassium is also found in pumpkins, and keeps the heart healthy, and is especially important in the diet of athletes and active people since it’s lost through perspiration (sweating!).

Vitamin C & E

It hasn’t been proven, but Vitamin C is suspected to be useful in helping to pull through illness more quickly; it’s also essential for wound healing and collagen synthesis.  Vitamin E is also important to help protect the skin from UV damage and free radicals.  Additionally, there is some evidence to suggest it may help prevent prostate and bladder cancer and the onset of Alzheimer’s disease.

How to Use Pumpkin:

Fresh pumpkin is perfect cubed and thrown into stir fries, casseroles, or soups.  My favorite super simple, tasty way to enjoy it is to cube it, drizzle with olive oil and sprinkle with your seasoning of choice, then roast it on a sheet pan in the oven!

Stir pumpkin puree it in to oatmeal with a dash of pumpkin pie spice and a splash of cold milk, mix it into quick bread and pancake batters, soups, obviously put it in a pie crust, or blend it up into this pumpkin pie-esque smoothie!  Any way you can add the real stuff (not the flavored syrup!) into your meals, you know you’re doing yourself a favor.

Pumpkin Pie Smoothie {Gluten-free, Vegan}

(The awesome thing about smoothies is, you really can’t make a mistake!  Here, you have the option to add in any kind of milk you like, protein powder for a boost (or not, if you’re not feeling it!), and chia seeds, or ground flax for extra nutrition.  I love my smoothies not too sweet, but if you want more sweetness, just up the amount of maple syrup you add a little, or throw in another half banana.  Not exactlyyyyy like pumpkin pie, but you’ll get your fill of the real thing this season, so enjoy the lightened up flavor of pumpkin with this smoothie for awhile!)

Ingredients:

* 1 large banana, frozen

* 1/2 cup pumpkin puree

* 1/4-1/2 cup milk of choice (I used almond)

* 1 Tbsp chia seeds

* 1 Tbsp pure maple syrup

* 1-2 Tbsp vanilla rice protein powder (optional)

* 1-2 Tbsp almond butter

* 1 tsp pumpkin pie spice (or 1/2 tsp cinnamon, 1/2 tsp nutmeg)

* 3-4 cubes of ice (maybe a few more if your banana wasn’t frozen)

Directions:

Throw everything but the ice in a blender and blend on high until smooth.  Add in ice cubes one at a time until blended – unless you have a fancy Vitamix blender (I’m jealous, if you do!), and then you can probably just throw everything in at once and blend, blend, blend!

LooooooooooooooooVvveee!