Archive | Holidays RSS feed for this section

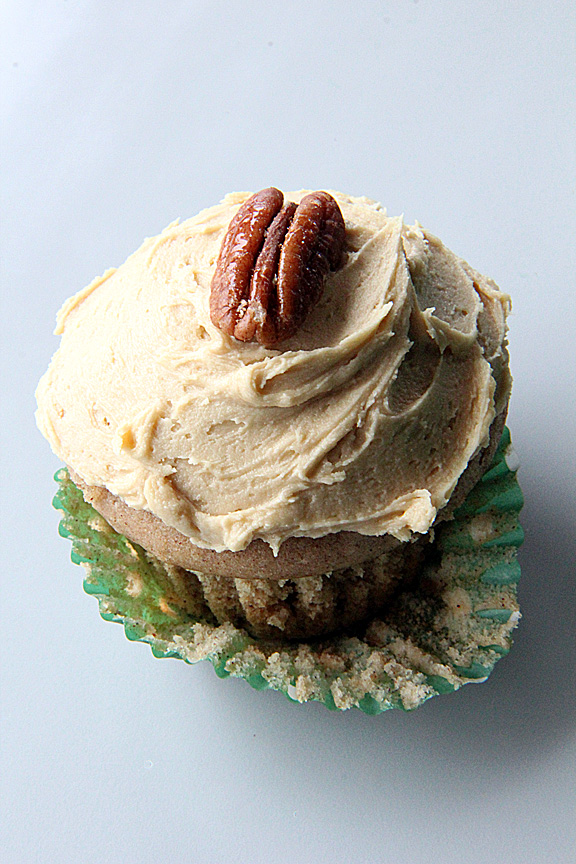
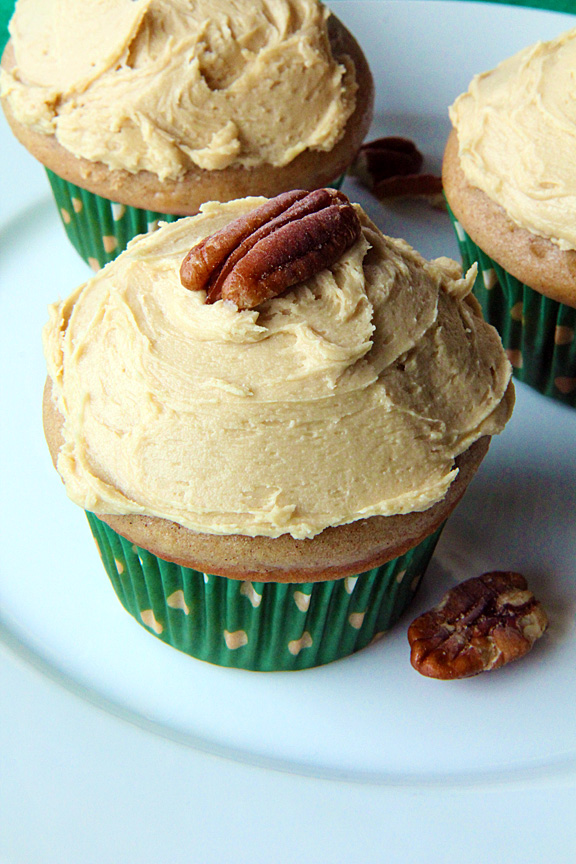
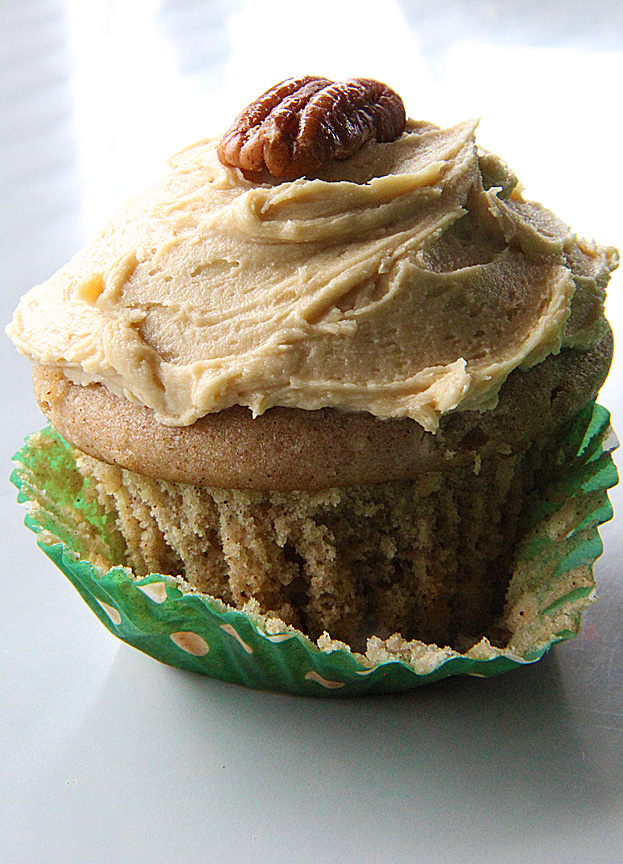
Martha Stewart’s Spice Cupcakes with Molasses Buttercream

24 Dec

Spice-Cupcakes5

 Merry Christmas Eve!

Can you believe it’s already here, because I’m having a tough time wrapping my brain around 2012 coming to an end.  You know what they say, time flies when you’re having fun…so I must have been having A LOT of fun this year!

Christmas Eve is the anniversary of my parents’ engagement.  My dad proposed at a Mexican restaurant long ago, and as far back as I can remember, they have either gone out for Mexican food or we have made lots of yummy Mexican food at home to share every year.  Without fail, everyone is scurrying to finish shopping and wrapping last minute gifts, and then things wind down around midnight when we all gather to hear ‘Twas the Night Before Christmas, followed by the Grinch who Stole Christmas – the original, cartoon version of course!  I love these little things that are all our own.  I can count on so much every year with my family it makes the holidays feel extra special.

Spice-Cupcakes1

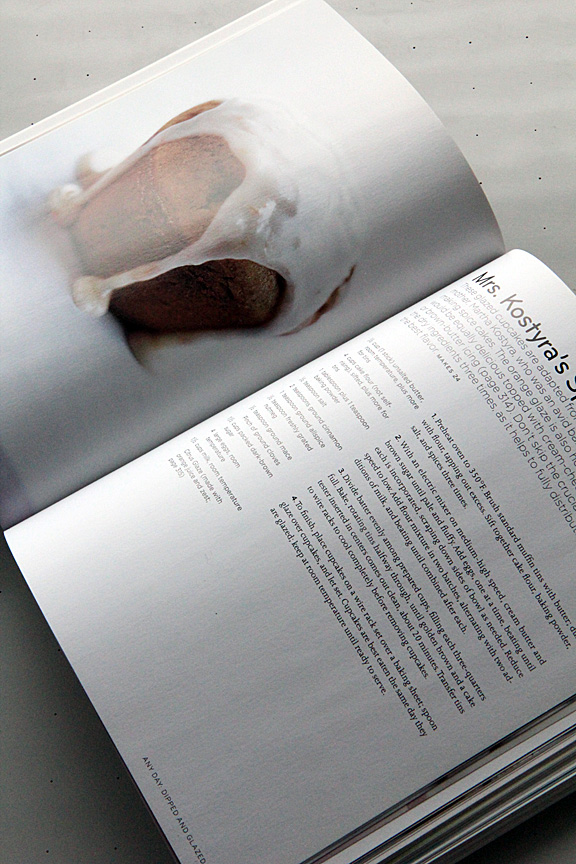
Mrs. Kostyra’s Spice Cupcakes (From Martha Stewart’s Cupcakes)

These spice cupcakes are not traditional for me, nor are they something I had attempted to bake before this first time, but I’m working my way through Martha’s book and these seemed festive enough for this time of year.  The original frosting suggested for this recipe is an orange glaze, but I had high hopes for a molasses frosting I had floating around in my head.  Seems like everything worked out, and these little guys baked up perfectly sky high due to all the leavening!  Try them out. 🙂

Ingredients:

* 1/2 cup (1 stick) unsalted butter, room temperature

* 1 1/2 cups dark brown sugar

* 4 large eggs

* 1 1/2 cups milk, room temperature

* 4 cups cake flour, sifted (I used regular, all purpose flour)

* 1 Tbsp + 1 tsp baking powder

* 1/2 tsp salt

* 2 tsps ground cinnamon

* 1 tsp ground allspice

* 1/2 tsp ground nutmeg

* 1/2 tsp ground mace (I used plain old ground black pepper)

* Pinch of ground cloves

* 18-24 pecan halves, depending on how many cupcakes you end up with, for topping (optional)

Directions:

Preheat oven to 350*F.  Grease and flour or line a standard muffin tin with cupcake papers.

In the bowl of a stand mixer, cream the butter,  and brown sugar until pale and fluffy.  Add eggs one at a time, mixing between additions until well combined, scraping down the sides of the bowl as necessary.

In a separate bowl, sift together the flour, baking powder, salt, and spices. (Martha’s recipe says to do this 3 times, but I just sifted everything once!)  Reduce mixer speed to low and alternate additions of the flour mixture and the milk until batter comes together.

Divide batter evenly amongst cupcake wells, filling 3/4 full, or slightly more.  (The recipe states that it makes 24 cupcakes, but I fill my tins pretty full and only got about 18).  Bake 15-20 minutes, depending on your oven, just until a toothpick inserted into the center of a cupcake comes out clean.  Allow cupcakes to cool about 10 minutes in the pan before removing and allowing to finish cooling on a wire rack.

Allow to cool completely before frosting.

Molasses Buttercream Frosting

Ingredients:

* 1/2 cup (1 stick) salted butter

* 3 cups powdered sugar

* 1-2 Tbsps molasses

* 1-2 Tbsps milk

Directions:

In the bowl of a stand mixer, cream the butter.  Add a cup of powdered sugar and mix until crumbly.  Add 1 Tbsp molasses, and mix again until combined.  Add in remaining 2 cups powdered sugar.  Add in the additional Tbsp molasses to taste, or if you like a lighter flavor, add 1 Tbsp milk instead.  Whip until smooth.  If too thick, add in the other Tbsp milk.  If too thin, add in a bit more powdered sugar.  Refrigerate until ready to use.

Spice-Cupcakes3


Spice-Cupcakes4


Spice-Cupcakes6I’m always curious as to what everyone else’s Christmas and holiday traditions are…whatever you have planned, I hope you’re surrounded by family & friends, love, lots of smiles, and lots of sweet treats!

…And don’t forget to leave some out for good ol’ St. Nick & the reindeer! 🙂

Martha Stewart’s Mint Chocolate Cupcakes Reworked + Peppermint Buttercream

23 Dec

PeppermintChocolateCupcakes2


PeppermintChocolateCupcakes4

I’m not sure whether or not it makes me feel better, but I certainly wasn’t the only Christmas shopping procrastinator bustling around out in the world today!  Without fail, I end up being way too busy to shop early, and I end up with a full list of family members to shop for in minimal time.  Luckily, I expected the challenge, this being the last weekend before Christmas,  so I bundled up in a warm coat, loaded my ipod with holiday favorites, and ventured out with the attitude that I’d make do with whatever happened!  Rain was pouring down, the stores were hopping, and I actually made some really great progress despite the never ending lines.  I owe it all to adrenaline and caffeine!

MarthaStewartBook1

Martha Stewart’s Mint Chocolate Cupcakes

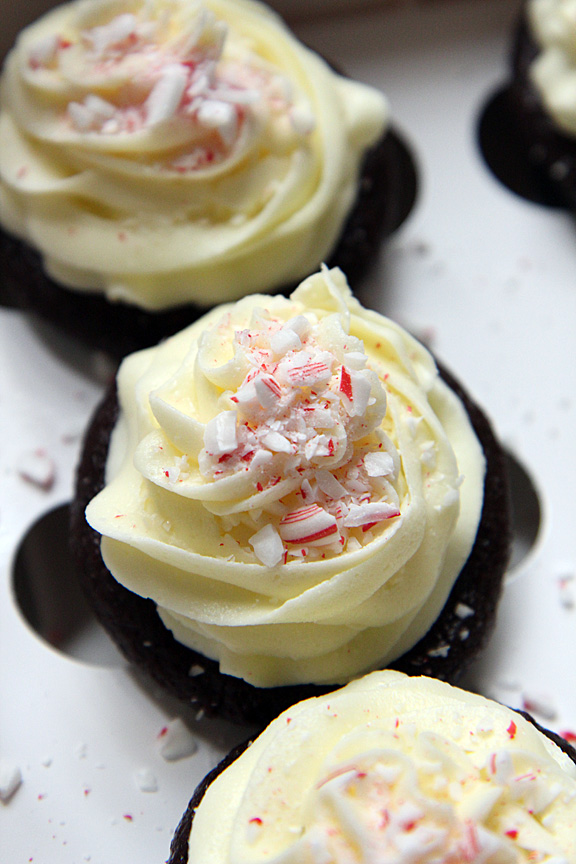
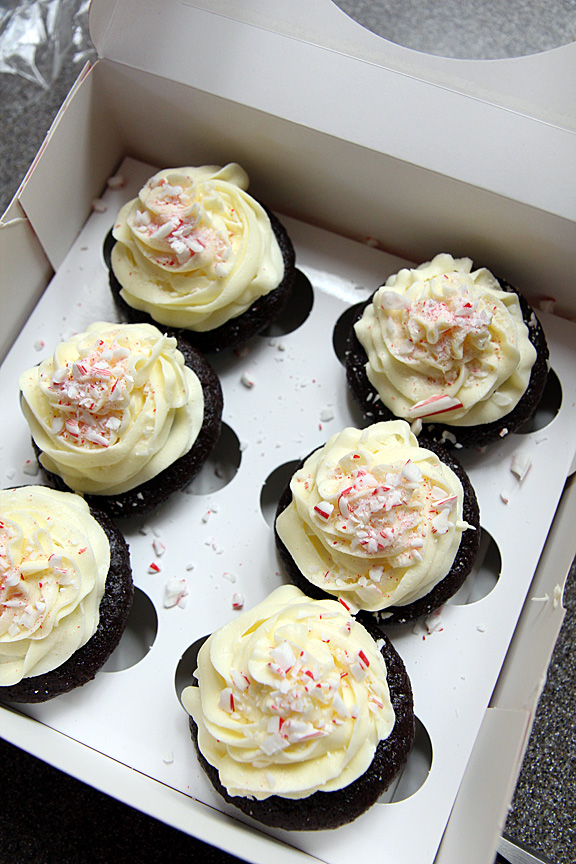
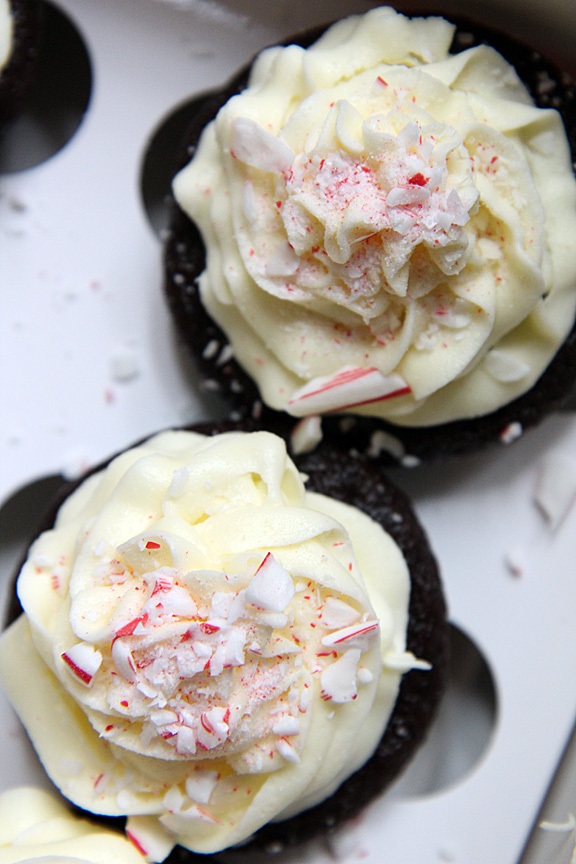
Baking this time of year is especially magical since there are so many awesome, festive flavor combos!  These chocolate mint cupcakes are no exception.  I followed Martha Stewart’s cupcake recipe pretty closely (the frosting is a different story altogether), except that I subbed in milk + vinegar for the buttermilk since I didn’t have any on hand, and left out the peppermint extract completely.  I really wanted the chocolate flavor to shine so I could save the peppermint for the frosting.  At first, the batter seemed WAY too runny…as in, I felt like I was pouring chocolate milk into the cupcake tins, but everything worked out and they baked up beautifully!  A yummy addition to any Christmas dessert tray 🙂

Ingredients:

* 1 1/2 cups all purpose flour

* 3/4 cup unsweetened Dutch-process cocoa powder (I used Hershey’s unsweetened cocoa powder)

* 1 1/2 cups sugar

* 1 1/2 tsps baking soda

* 3/4 tsp baking powder

* 3/4 tsp salt

* 2 large eggs

* 3/4 cup buttermilk (I used 3/4 cup milk + 1 Tbsp white vinegar)

* 3/4 cup warm water

* 3 Tbsps vegetable oil

* 1 tsp pure peppermint extract (I left this out!)

* 1 candy cane, or several mini candy canes, crushed for topping (optional) But these make them super cute!

Directions:

Preheat oven to 350* F.  Line a 12-cupcake tin with cupcake papers.

In the bowl of a stand mixer, combine the oil and sugar, and mix until combined.  Add eggs one at a time, mixing between additions until smooth.  Add buttermilk, extract (if adding to make peppermint chocolate cupcakes), buttermilk (or milk + vinegar), and water.  Beat on low speed until smooth and combined, scraping down sides of the bowl as necessary.

In a separate bowl, sift together the flour, cocoa powder, salt, baking soda, and baking powder.  Slowly add dry mixture to the wet mixture, beating on low in between additions.

Divide batter evenly among lined cups.  The recipe says to fill only 2/3 fully, but I filled them a touch fuller than that since I like tall cupcakes.  (If you end up with extra batter, bake as a second batch after the first is done.  I think this recipe would have made a few more than 12 cupcakes except that I fill the cups really full.)

Bake about 20 minutes, or until a toothpick inserted into the center of a cupcake comes out clean.  Allow to cool for about 10 minutes in the tin before removing cupcakes and allowing them to finish cooling on a wire rack.

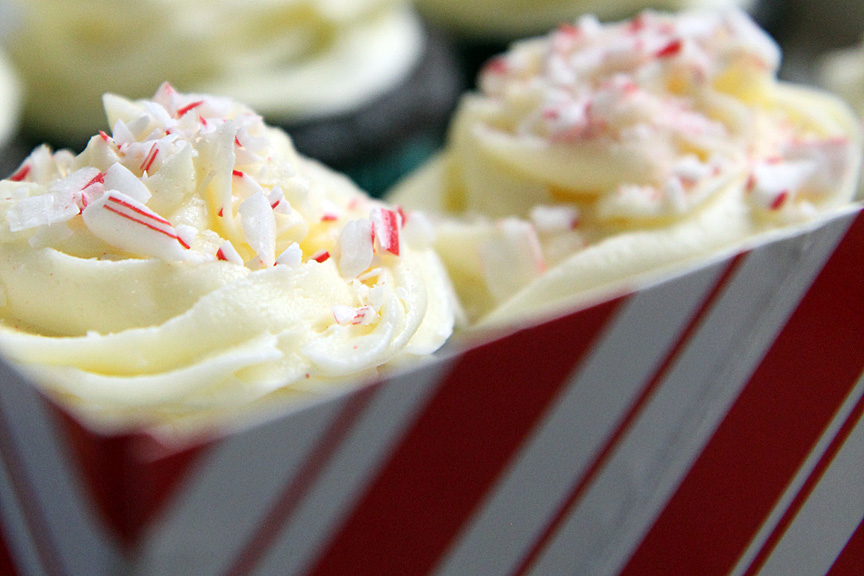
Frost once completely cool and top with a sprinkle of crushed candy cane.


Peppermint Buttercream Frosting

The frosting suggested in the book for these cupcakes was mint buttercream, but instead of using Martha’s version, I topped my little cakes with a frosting of my own creation.  This peppermint buttercream is a spin off of my classic go-to buttercream recipe.  Peppermint extract adds a kick!  No chocolate leaves here, my cupcakes are adorned with pretty candy cane crumbles!

Ingredients:

* 1/2 cup (1 stick) butter or margarine

* 3 cups powdered sugar

* 1-2 Tbsp milk, or milk alternative

* 3 drops-1/4 tsp peppermint extract, to taste

Directions:

Cream the butter in the bowl of a stand mixer.  Add 1 cup of powdered sugar and mix until crumbly.  Add in 3 drops peppermint extract and 1 Tbsp milk.  Mix again until combined.  Add remaining 2 cups powdered sugar.  Assess consistency, and add more peppermint if desired.  If too thick, add remaining 1 Tbsp milk.  If too thin, add a bit more powdered sugar.  Whip for a minute, or until well combined, and smooth with no lumps remaining.  Refrigerate if not using immediately.

PeppermintChocolateCupcakes1


PeppermintChocolateCupcakes5


PeppermintChocolateCupcakes7


PeppermintChocolateCupcakes6

I’ve also made Martha Stewart’s Lemon Cupcakes from the same book with great success!  Check them out here.

LemonCupcake7

Of course I can’t wind down this post without including my favorite outfits from the Victoria’s Secret Fashion Show this year!  All Access Here.  I love, love, love the lacey number Candice Swanepoel floated down the glittery runway in during the “Angels in Bloom” section of the show – pretty, sweet, and accompanied by a set of flowery wings!

Candice2012_2

Lindsay Ellingson paraded down the runway in a black-hot cut-out corset type top during “Silver Screen Angels,” but my favorite part of the whole ensemble is the giant, feathery wings!  You can’t be an angel without wings 😉

Lindsay2012_1

I wish you all happy, magical holidays!

xoxo

Salted Caramel Apple Bread & Apple Hill, CA

9 Oct

Man oh man, I’ve been busy lately!  Not only am I slowly working through molecular formulas and hours worth of organic chemistry labs, I’ve also got my share of to-the-grind work hours and a new internship that I’m super in love with taking lots of my time and energy!  A lot has changed for me in the past several weeks, and while I won’t delve into it that much, I can definitively say it’s really not much of a “loss” to “lose” someone who is unappreciative of who you are and not supportive of life ambitions and endeavors.  It’s so tough to be your true self with someone like that, and life is too short not to be your own, genuine, self with someone who really deserves it.  I believe that you can’t lose the ones who are worth the fight, because they’re the ones who never want to be lost.  Surround yourself with GOOD people, and the others will just sort of filter themselves right on out.  Done and done! 🙂

Now on to what’s REALLY important!  It’s THAT time!…it’s THAT season!…APPLE SEASON!!  I wait patiently for this all year long.  Be still my heart, apple season *flutter, flutter* <3

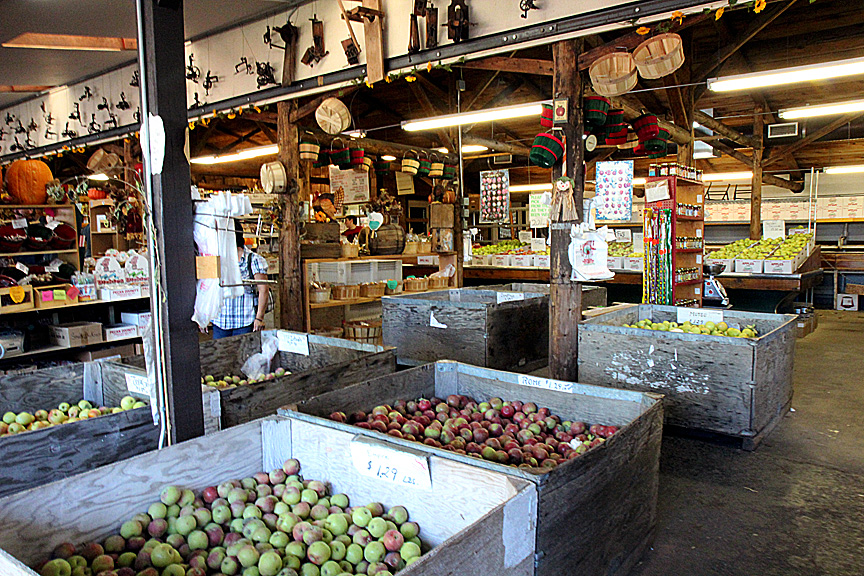
I know you can pretty much get an apple any time of year these days, but you have to admit, you can’t really GET an apple.  Maybe a mealy, lac-luster, whatever kind of apple, but not a good one.  Good apples can only be found this time of year, kissed gently by just enough cool air as it graces leaf-dusted hillsides.  Lucky for me, I happen to live just a hop, skip, and a jump away from just such a hillside-studded place – a veritable apple mecca…a town actually named after the delicious, crisp, refreshing apple; a charmingly sweet town that’s ready and willing to let everyone know just what time of year it is by offering up warm apple cider, hand-crafted pies, and of course, fresh apples.  It’s unmistakable.  Unapologetic.  Amazing.

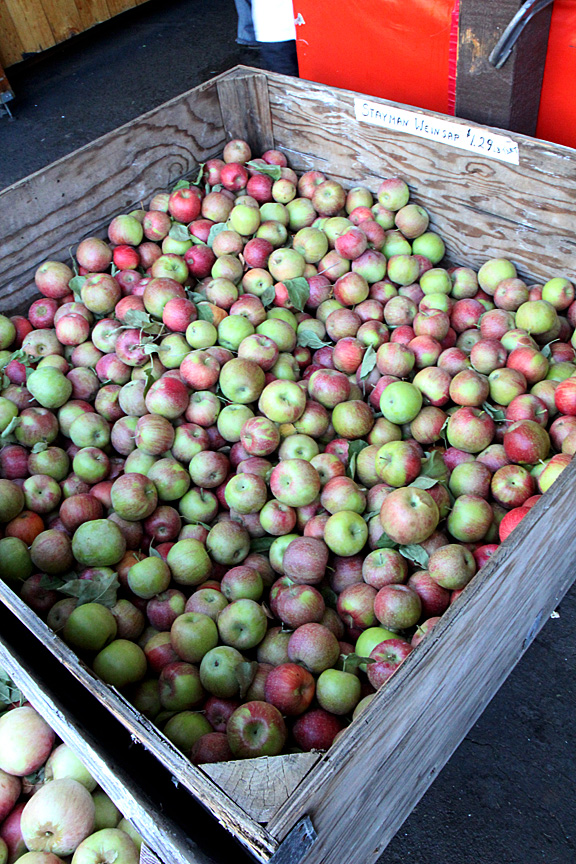
Apple Hill is this wondrous, wondrous, magical place (especially if you’re into popcorn or kettle corn, but don’t even get me started on that!) in Northern California where fall has officially taken root.  It’s the town you read about in books because places like it are all but extinct.  If any place in the world could actually give you a hug and grab you by your sensibilities at the same time, it’d be Apple Hill!  Boxes, and crates, and bins of apples, as far as the eye can see, every size, every color, about a million different varieties and names I’d never even heard of!  An apple for every personality, every mood, every thought…every baking endeavor, and then some. (more…)

5 Ways to Celebrate Earth Day!

22 Apr

Happy Earth Day!

I’m of the mindset that every day should be considered “Earth Day,” in that it’s important to be conscious of our impact on the planet all year long!  Much like the sentiments of many holidays  (the thoughts, feelings, and considerations that are brought to light) I feel would  ideally be best displayed every day, sometimes we lose focus and need the reminder of a “special day” to nudge us in the right direction!  In that case, I’m all for a holiday that brings our priorities back in line!


Today seemed like a really great day to get outside and enjoy the weather, the wildlife, and the sunshine.  I normally try to get outside for a walk or a jog down the street and back (2 miles, haha) every day, today it was way too toasty out to lug my camera with me.  So, for the sake of me returning alive, but also giving you a peek at some of the cool plants, animals, and scenery I get to appreciate every day, I decided to show you some pics from a few days ago when the weather was MUCH cooler!

I don’t like to be in too much of a hurry when I’m walking outside – there are too many interesting things going on that I’d probably miss out on if I rushed.  Long.  Straight. HILLY road!  When I do run, those hills get me every time!

The California Poppy is currently in full bloom!  Takes a lot for me not to pick a few for a vase on my way home….!

To date, this is my favorite horse in the world.  I have no idea what his name is, but we’ve developed a relationship that transcends the need for names.  It goes a little something like this: I bring him treats (carrots, apples, etc) and he runs to the fence, pretending he’s excited to see me.  See how that works?  I get the satisfaction of convincing myself we’re friends, and he gets a carrot.  Win-win, right?!


In reality, we get along because he’s exceedingly sarcastic and quick-witted.  We talk a lot.  He gets me!

This darling old man is Max.  Max has a lot of friends in the area (dog and otherwise) that he  visits regularly, stopping by to play or for a drink of water.  He wanders up to my garage occasionally and camps out for days at a time, or meets up with me while I’m on my way down the street.  Cutie pie!

This is Max’s friend, pretty adorable, right?!  They often travel together – bff?!  Look at those puppy dog eyes, major awww!

Chickens!  And a rooster.  Wild turkey and chicken are all over the place around here.  They cross the road, too, all the time, but I have yet to figure out why! =p

I had every intention of snapping photos of baby goats that appeared in a neighbor’s yard one day last week, but by the time I did manage to bring my camera with, they were gone!  I was under the impression they were permanent residents, but apparently that wasn’t the case.  Shoot!  I have to say, baby goats (kids!) are super duper cute, and these had collars on!  Another aww!


Worth protecting, right?!  I think so!  So, in keeping with the theme here, I’ve compiled a few ways for you to help the planet, and improve your own health at the same time!  Some of these ideas I’ve heard before, but I’ve tried to put my own twist on them where I see fit – often suggestions for helping the planet seem a little out there, and other times, require purchasing more or expensive resources or products to accomplish, which I sorta think often defeats the purpose!

5 Ways to Celebrate Earth Day

1.  Reusable cold & hot cups for coffee & tea:

I know I said buying more products wasn’t going to help the planet, but if you’re going to be hitting up Starbucks every day for a coffee fix, or grabbing an ice tea in the afternoon and using their disposable cups, a reusable cup is the way to go.  A nice thermos is great for hot coffee and tea, very affordable and easy to find.  The problem used to be the elusive reusable cold travel cup, which used to be nearly impossible to find.  Now they’re everywhere!  Starbucks carries them at what I think is a bit high for my own price point, but I got one at Cost Plus for super cheap, and Walmart has them in practically every color imaginable!  Get one.  Bring it to the Bux on your next coffee run!

2.  Whip up your own natural, non-toxic cleaning products, or at least buy the friendly lines of products:

Ideally, you would use all-natural, non-toxic, kid and pet friendly cleaners for everything, all the time.  However, there is some grime, and some funk that just seems to be immune to baking soda and vinegar.  I get it.  Just try to use natural cleaners when you can – every little bit helps!  For most cleaning issues, I quickly Google it, and spend a few minutes looking through products I already have on-hand in my kitchen that will do the trick.  If you’re having a cleaning crisis, chances are good someone else has too, and you can probably find a green-cleaning tip about it online!  It’s true baking soda and vinegar won’t work for EVERYTHING, but they sure seem to work for 90% of messes!  If you MUST go the route of store-bought cleaning products (which I do, also – laundry detergent, and dish soap), try the lines that are known for being organic, naturally derived, not tested on animals, non-toxic, etc. such as Method (which is not ALL natural, but close), Simple Green, Green Works, etc.

3. Re-purpoes items you already have:

This is a whole lot like recycling.  In fact, it IS recycling!  It doesn’t work for everything (some things truly must be discarded…and by discarded, I mean put in the recycle bin and sent out to those who know what to do with it – ex: thousands of old phone books!) but try to the items you have no need for anymore as they are, and turn them in to items you need or want!  Old t-shirts are great for cutting down and sewing into a blanket or throw pillows, mason jars work great as glassware or vases for flowers if you aren’t much for jam making.  Instead of going out and buying new furniture, old furniture sometimes just needs a new finish or fresh coat of paint to become special and useful again.  Martha Stewart or DIY shows are often my go-tos for things like this!

4.  Plant your own garden:

I said it!  Cultivate that green thumb of yours, and work to plant a lot of your own vegetables and even fruits.  It takes some work to set up the beds, and maybe a little more work if need to construct raised beds due to the lack of topsoil, but it’s worth it when those tomato plants of yours just won’t quit!  It’s often much more cost effective to grow your own produce (ahem, have you seen the prices of product at the store or Farmer’s Market?!), not to mention you know exactly where your food came from and that it’s not smothered with gross pesticides!  Lots of inspiration onmy sister site, SayitwithSprouts.com if you need it!  If a whole garden seems like too much, or you have space restrictions (umm, that was me, in a tiny apartment!) consider growing a little window herb garden!  Pick up a few seed packets and plant them up in your re-purposed mason jars (yes, tip 3 in action!  Just be careful not to over-water!).  Great for cooking, and cleans your indoor air a bit!  My favorites are Basil, oregano, and mint!  Bonus points if you compost your fruit and veggie matter!

5.  Have a plan of attack when running errands:

Now, it’s one thing to live in a small town where you are able to walk or bike anywhere you need to go (hello, Davis!  I miss you!) – it makes running errands super efficient and planet-friendly, but most of the time, that just isn’t possible.  Everything seems to be so far away nowadays, and it’s just not realistic to think you won’t be taking your car out on a day of errand-running.  The key here is to be as efficient as possible with your car usage.  Plan ahead so you know where you’re headed, and travel the most efficient route so you don’t end up back-tracking, or getting half way home only to remember you forgot the dog at the groomer.  Wastes a lot of gas, as well as your precious time!  Oh, and while I’m on the subject, reusable grocery bags, FTW!

There you have it!  There are many MANY more ways you can help the planet and reduce your impact on a daily basis, these were just a few to get you started!


How do you like to celebrate Earth Day?  What are your favorite every day tips for being greener & more eco-friendly??  I’d love to know!


Martha Stewart’s Coconut Cupcakes and the Frosting that Changed my Life

4 Feb

Over the past few years especially, coconut, and namely the type of fat it contains, has become overwhelmingly controversial in terms of health and nutritional value.  There is no disputing the impressive vitamin (most notably folate), and even more so, mineral (very high in manganese, with a good amount of copper and selenium) and amino acid profile of these fruits, known as “drupes,” hailing from the palm family, but the fact that they are comprised of a generous ratio of saturated fat to carbohydrate and protein is what concerns some health conscious individuals and experts.

True, saturated fat has been touted as the “evil” fat said to raise levels of “bad” cholesterol in the body known as LDL cholesterol, and contribute to obesity, and for the most part, that is accurate.  However, what is rarely mentioned is the presence of different types of saturated fats, which vary greatly based upon their size.  Saturated fatty acids, or triglycerides, appear in foods as short chain, medium chain, or long chain fatty acid chains.  The problem with the typical American diet is that it contains way too many long chain saturated fatty acids, found in meats, dairy, and even some plant sources of fat, which are tough for the body to break down and convert to energy.  Coconut, on the other hand, as well as palm kernel oil, contains medium chain saturated fatty acids, which are thought to be used by the body much differently.  According to some research, medium chain fatty acids are more easily oxidized by the liver to produce energy, causing less of the fat to be stored long term in the body.

The bottom line here is not that the saturated fat in coconut would be recommended over unsaturated fatty acids like those found in foods like avocado, olive oil, fatty fish, and various seeds which raise levels of “good” HDL cholesterol in the body, but that it serves as a better replacement for other saturated fats that are already in the diet.  So, don’t feel like you have to steer clear of coconut because of the fat content in order to feel “healthy”!  Some fat in the diet is absolutely necessary for a healthfully functioning body, and the satiety factor we need to feel full and nourished.

Make some healthy substitutions every once in awhile, like for instance, drink coconut milk occasionally instead of your usual 2% dairy milk, or bake with coconut milk rather than butter, and you could be doing yourself a favor with a little health boost!  Go ahead and make a batch of these coconut cupcakes and enjoy (*cough* Super Bowl Party!! *cough*)…I’m not claiming these cupcakes are health food by any stretch, but let’s face it, coconut tastes awesome, too – just don’t go overboard!

Or, if you prefer freshy, citrusy lemon, you might enjoy Martha Stewart’s Lemon Cupcakes instead!

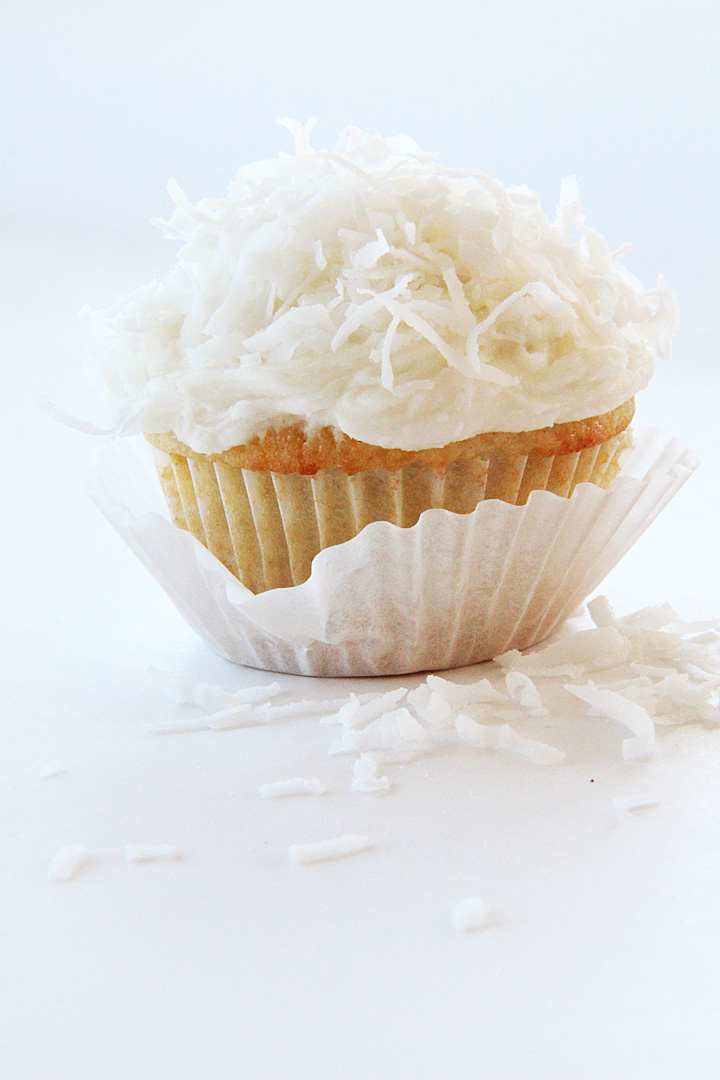
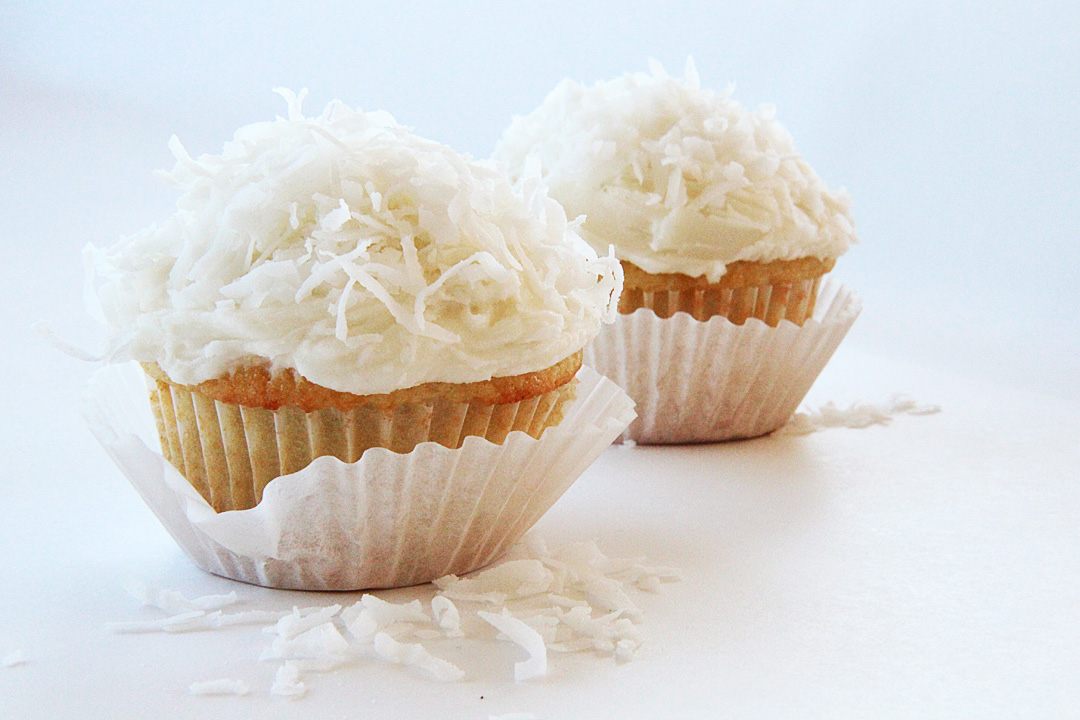
Martha Stewart’s Coconut Cupcakes with Coconut Buttercream Frosting

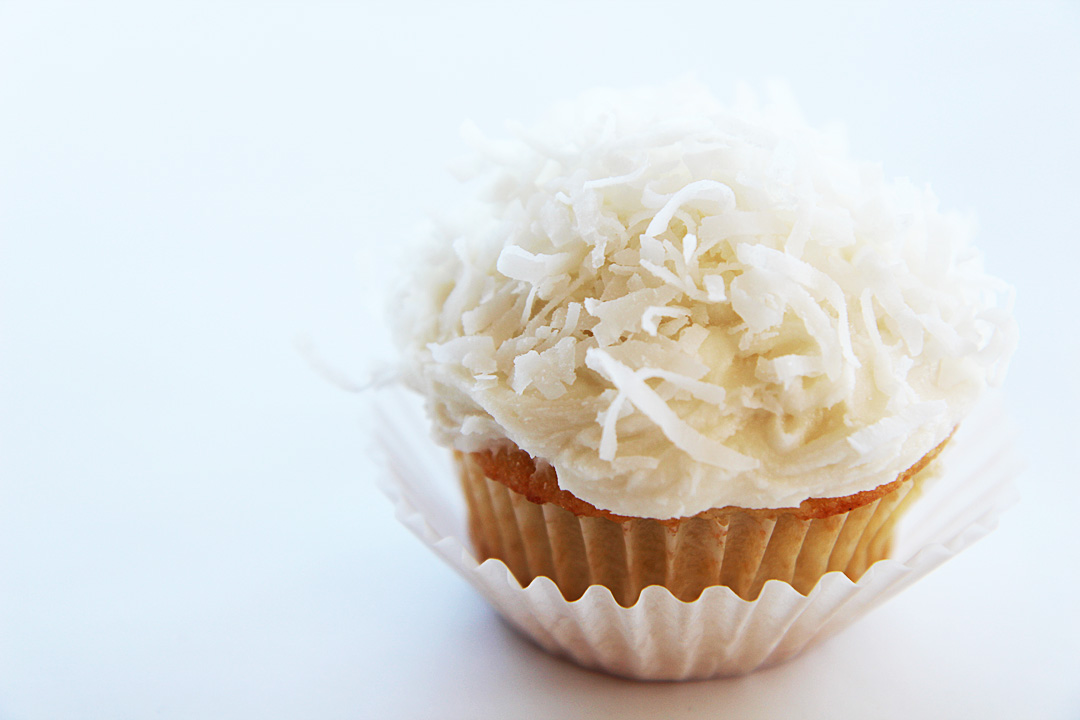
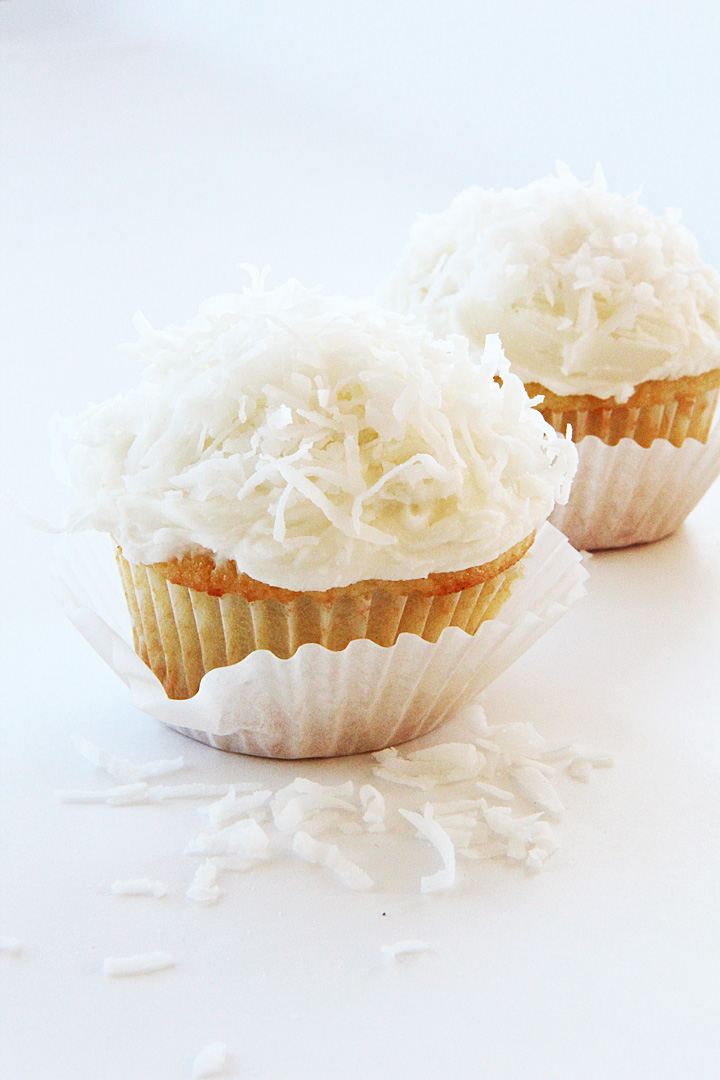
These are dense, hearty little cupcakes.  My favorite part of the recipe is that it includes ground coconut in the batter, and can easily be made dairy-free!  Ok, that’s one of my favorite parts, the other is the frosting.   The cupcake recipe is from Martha Stewart’s Cupcakes, but the frosting is all my own… it changed my life…it’s THAT good! :)  Sprinkle with sweetened shredded coconut, unsweetened shredded coconut, coconut flakes, or just leave them as is!  I used sweetened shredded coconut since that’s what I had on hand, but I gazed longingly at the photo of Martha’s version with its large, glorious, luxurious-looking flakes, and wished I could have used those instead!  I urge you to do so, if you get the chance…and then send me photos!

Ingredients:

Cupcakes:
* 1 3/4 cups all-purpose flour
* 2 tsp baking powder
* 1/2 cup packed sweetened shredded coconut
* 3/4 cup (1 1/2 sticks) unsalted butter, or dairy-free butter spread like Earth Balance
* 1 1/3 cups granulated sugar
* 2 large eggs + 2 egg whites
* 1 1/2 tsps vanilla extract
* 3/4 cup unsweetened coconut milk, from either a can or carton
* Coconut Buttercream Frosting (below)
* Sweetened or unsweetened shredded coconut or coconut flakes for topping

Frosting:
* 1/2 cup (1 stick) butter or dairy-free butter spread
* 1/4 cup Coconut butter (the thick portion at the top of the coconut milk can, or pre-made coconut butter in a jar)
* About 2-3 cups confectioner’s sugar
* Dash of salt
* 1 tsp vanilla extract
* 1/2 tsp coconut extract

Directions:

To make the cupcakes:
Preheat oven to 350*, and line standard muffin tins with paper liners.

Sift together the flour, baking powder and salt. Grind sweetened coconut shreds in a coffee grinder or food processor until finely ground, and stir into flour mixture.

In the bowl of a stand mixer, or by hand, cream butter or dairy-free butter spread and sugar until pale and fluffy. Gradually beat in the whole eggs, egg whites, and vanilla, scraping down the sides of the bowl with a spatula as needed. Reduce mixer speed to low and add flour mixture, alternating with additions of coconut milk until everything is combined. Don’t overmix!

Divide batter evenly among lined cups, filling each just about full. Bake for about 20 minutes, rotating the pan half-way through cooking time, until a toothpick inserted into the center of the cupcake comes out clean. Remove from oven and turn out onto a wire cooling rack to cool completely before frosting.

To make the frosting:
Cream together the butter or dairy-free butter spread and coconut butter in the bowl of a stand mixer. Slowly add in the dash of salt and confectioner’s sugar by the spoonful until course, crumbly mixture forms. Add in the vanilla extract and coconut extract. Beat frosting until smooth, adding more confectioner’s sugar if the frosting is too thin, and more vanilla extract, coconut extract, or splash of milk of choice if it’s too thick.

Slather with frosting, and top with coconut shreds or flakes at your own discretion….

…I’m still finding coconut shreds in places I didn’t know existed, so fair warning – Coconut bombs are a very real situation!

Disclaimer:

I am NOT a licensed or certified nutritionist or registered dietician.  I am NOT currently, but am on my way to becoming, a certified personal trainer.  I do, however, hold a bachelor’s degree in biological sciences with an emphasis in neurobiology, physiology, and behavior, as well as a strong interest in holistic and medical nutrition, especially as it applies to the prevention of disease, but PLEASE consult your doctor or a registered dietician for more comprehensive and tailored diet, fitness, and health information if you have health concerns or questions regarding any of the topics I discuss.  I am simply expressing my knowledge and opinions based upon my own research, reading, and education within the health, fitness, and science fields.

That being said, I hope you enjoy what I write and maybe learn something interesting along the way.  Thank you!